Costume Upcycle: Spellbound Witch to Trendy Witch
Welcome to the last episode of the Costume Upcycle Series! In this series I will take a few of our oldest costumes from the clearance section and will either style or alter them in a new way that fits current costume trends! Each edition of the series has increased in difficulty in skill level. If you’re new here, you can click here to see what costumes I will be altering. In the last three blog posts, I turned a Twilight Fairy costume into a Rave Fairy here, a Fine Foxy Mama costume into Scary Spice here, and a Red Too Hot Costume into a Formal Red Devil here. Let’s get started on Episode 4 with a witch costume upcycle!
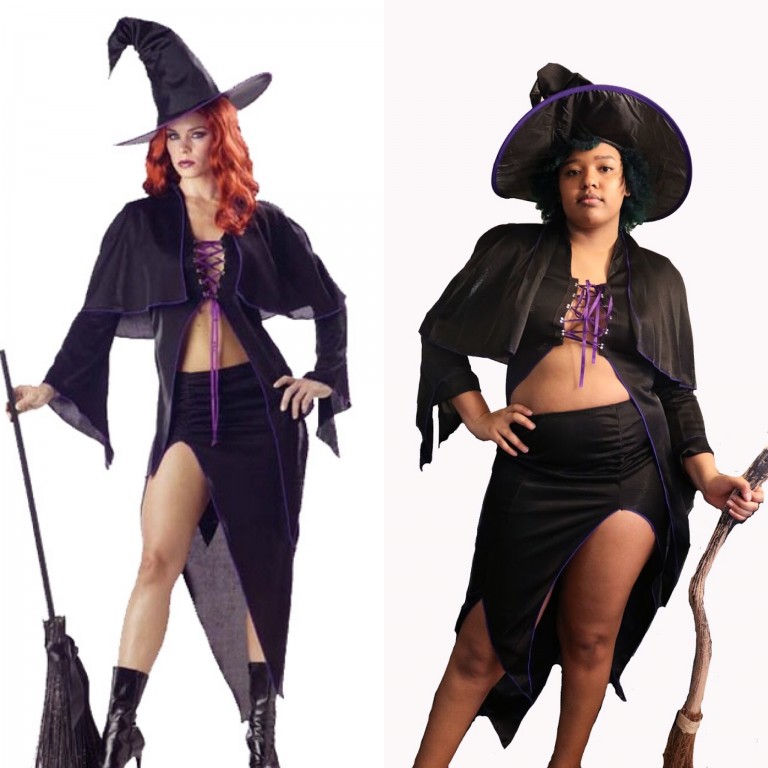
I saved this costume for last because out of all the costumes I chose for the series, it was hardest for me to come up with transformation ideas for this costume. This is one of the oldest costumes we have on the site so it definitely looks really dated. I stared at the picture of the costume for a very long time before I figured out a way to change it.The hat alone is really good and worth the low price of the costume but how do you fix a costume that looks like an early 2000s nightmare? Even with the Y2K fashion revival, this costume could still use some work to be fit for today’s standards.
Off-shoulder tops are really popular right now, so I figured I would alter the top and attached cape to be off the shoulder. This would definitely be a more advanced alteration which turned out to be perfect for the last costume in the series! I decided to leave the skirt alone to fit the Y2K aesthetic.
Supplies:
- Chalk
- Fabric scissors
- Pins
- Sewing Machine / Needle and Thread
Step One: Mark the Cut Line
I used chalk to draw where I want the shirt to sit on my shoulders. I put the shirt on my dress form to do this but it definitely is not necessary to have a dress form.
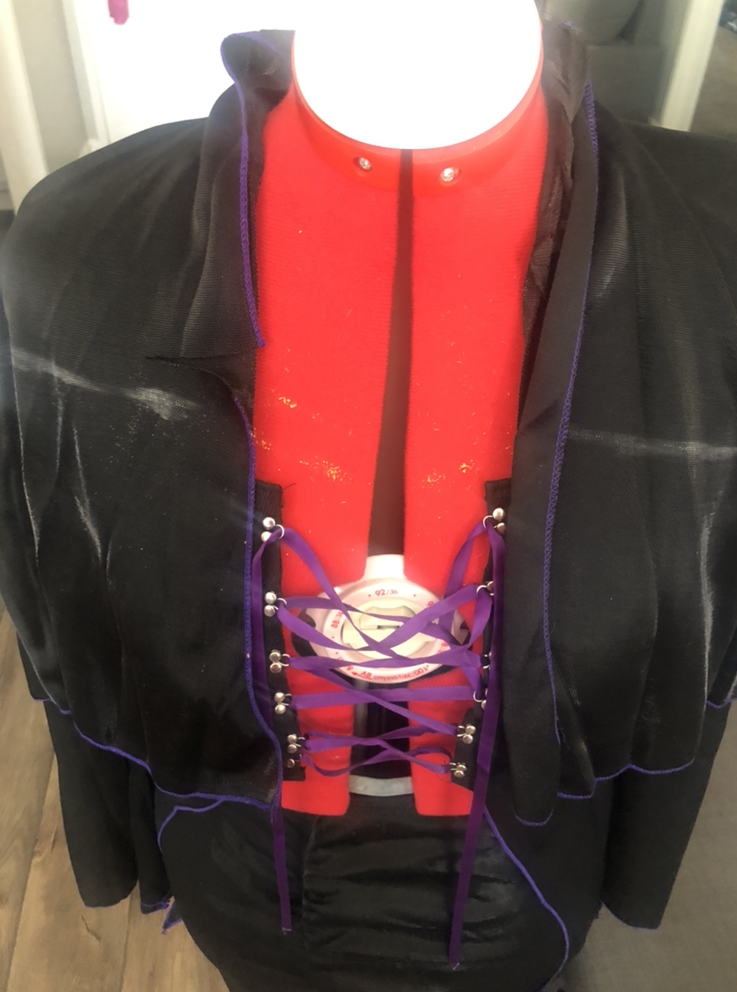
Be sure to mark both the shirt and the cape because you will need to cut them separately.
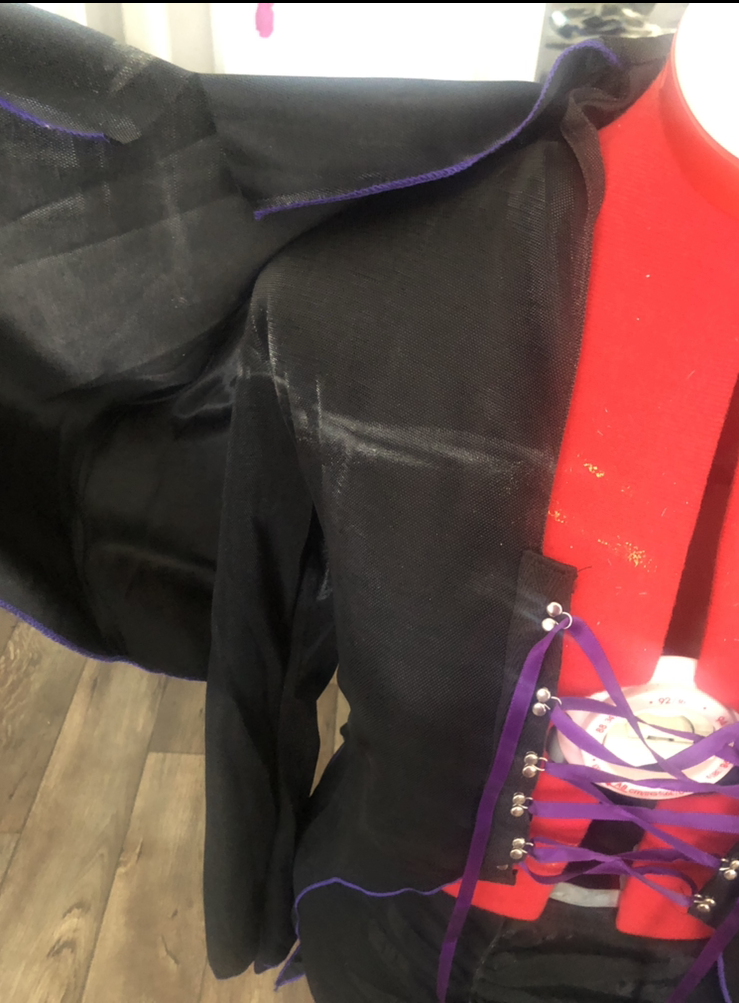
Step Two: Make the cut!
Cut the cape a couple inches above the chalk like so you’ll have a seam allowance when you sew.After removing the cape, cut the shirt a couple inches above the chalk line.
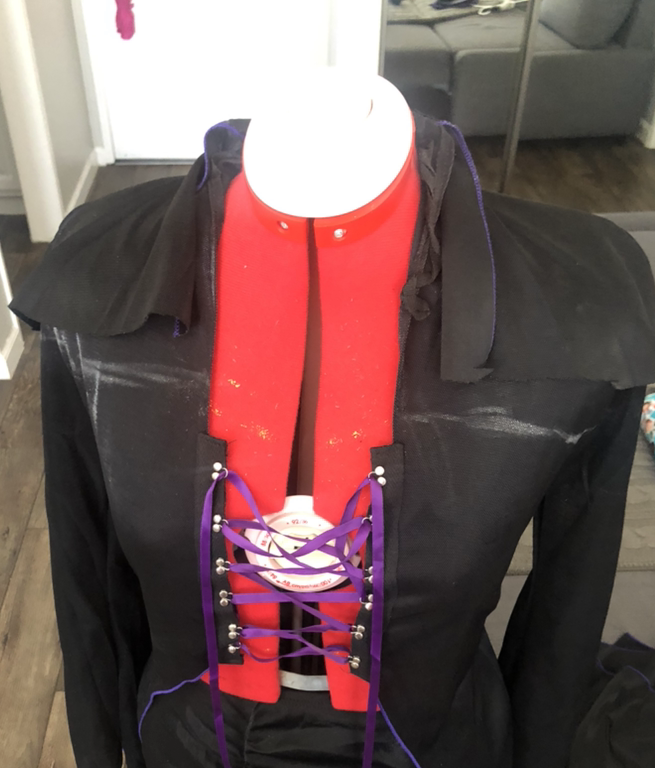
Step Three: Pin Cape to Shirt
Pin the cape to the shirt. To make sure the seam ends up on the inside, put the cape inside of the shirt and pin “right side to right side.” AKA you should be able to see the seams on the cape itself when its pinned inside the shirt.
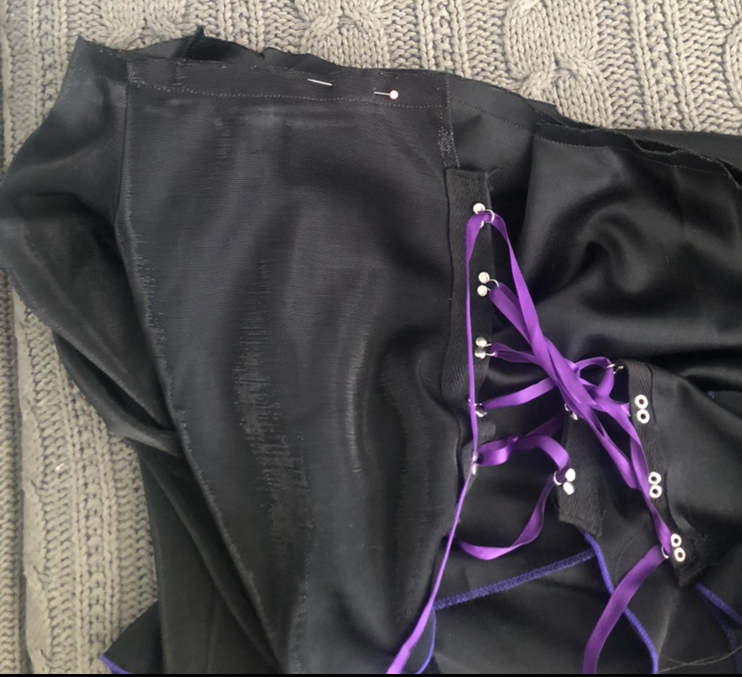
Another view of the seams.
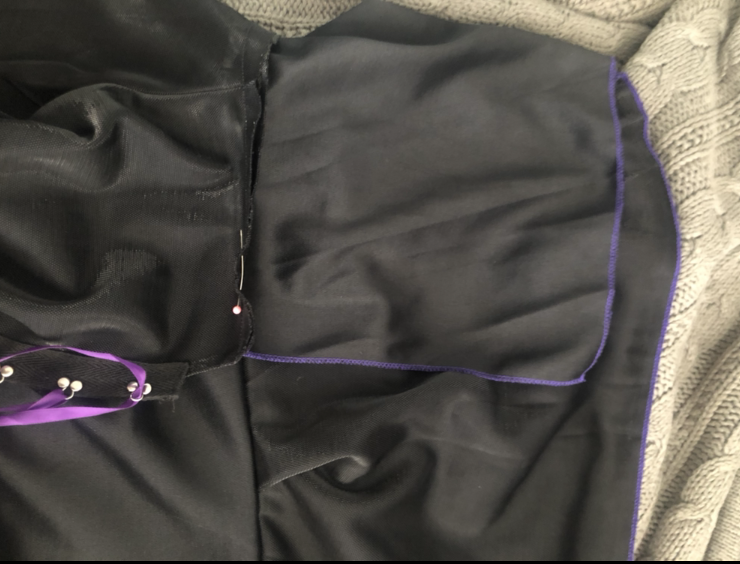
Step Four: Sew!
Use your machine or hand sew the cape to the shirt!
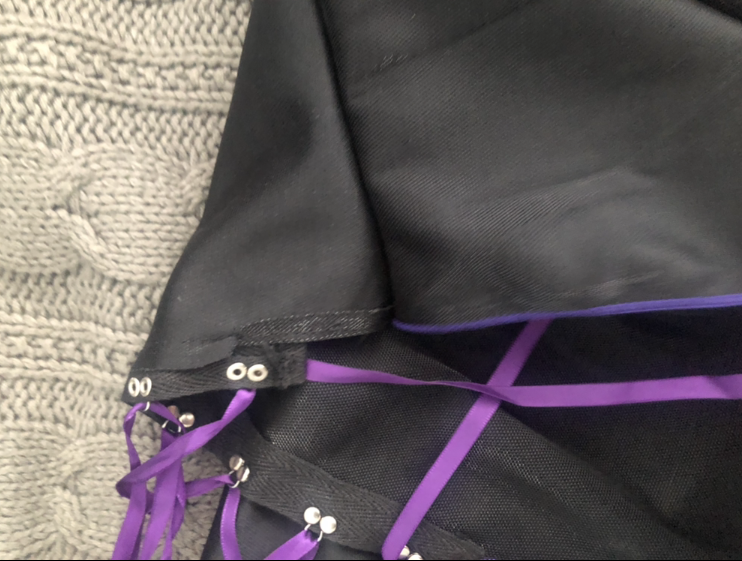
Since we’re leaving the skirt as is, you’re done!
The Finished Result
I’m pretty happy with how this top turned out!

I ended up using a random black skirt from my closet because it fit me better than the skirt that came with the costume. If you don’t want to wear the costume skirt, any black bottoms will do.

I definitely recommend using double sided tape or fashion tape to make sure the top stays on your chest. Don’t want any wardrobe malfunctions!
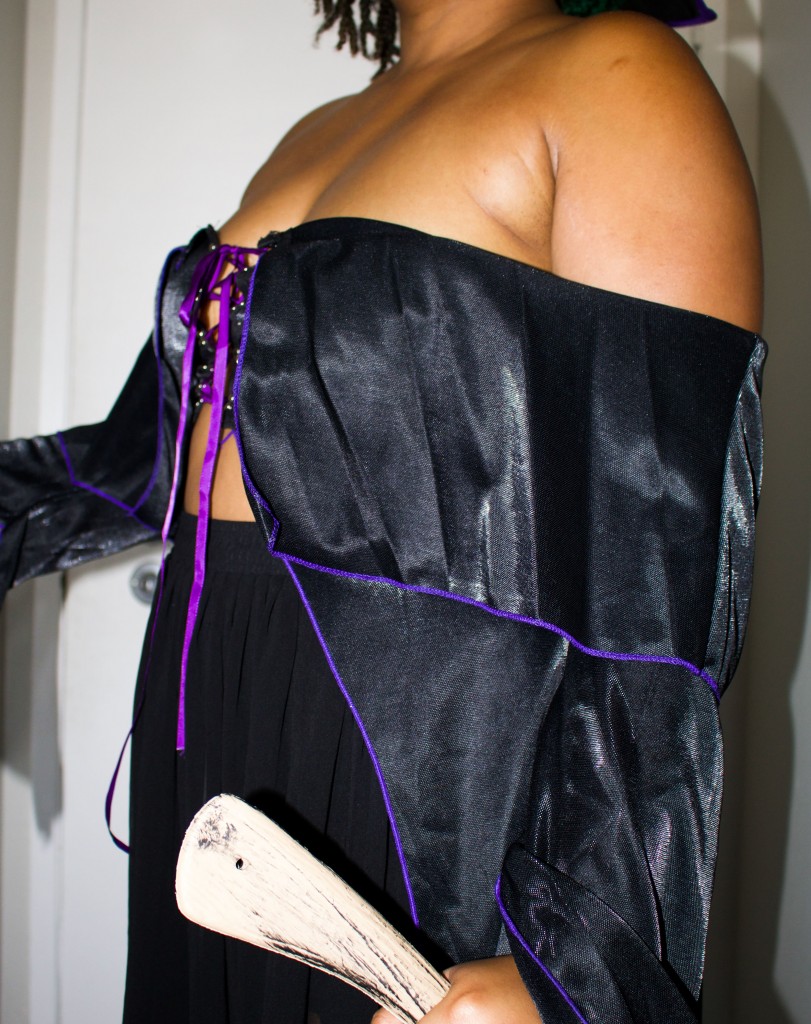
And that concludes our Costume Upcycle series! Be sure to subscribe to our blog. Who knows, there might be a reboot of this series some day!
Alia
(Everyday is Halloween)
Latest posts by Alia (see all)
- San Diego Comic Con 2023 Cosplay Recap - July 25, 2023
- WonderCon 2023 Cosplay Recap - March 28, 2023
- Anime Los Angeles 2023 Cosplayers - January 13, 2023


