DIY Bride of Frankenstein Wig
I love dressing up for Halloween and going all out with my costume. When I decided I wanted to dress up as the Bride of Frankenstein this year, I wasn’t sure how I would do her hair. I could style my own hair like her, but it would take colored hair spray because my hair is currently half green. Another option would be to buy a wig but the costume wigs don’t look real enough. I usually go for realistic wigs and a realistic Bride wig can cost $300+! That’s definitely way over my budget! So I set out to figure out how to make one of my own. Here’s how I did a DIY Bride of Frankenstein wig.
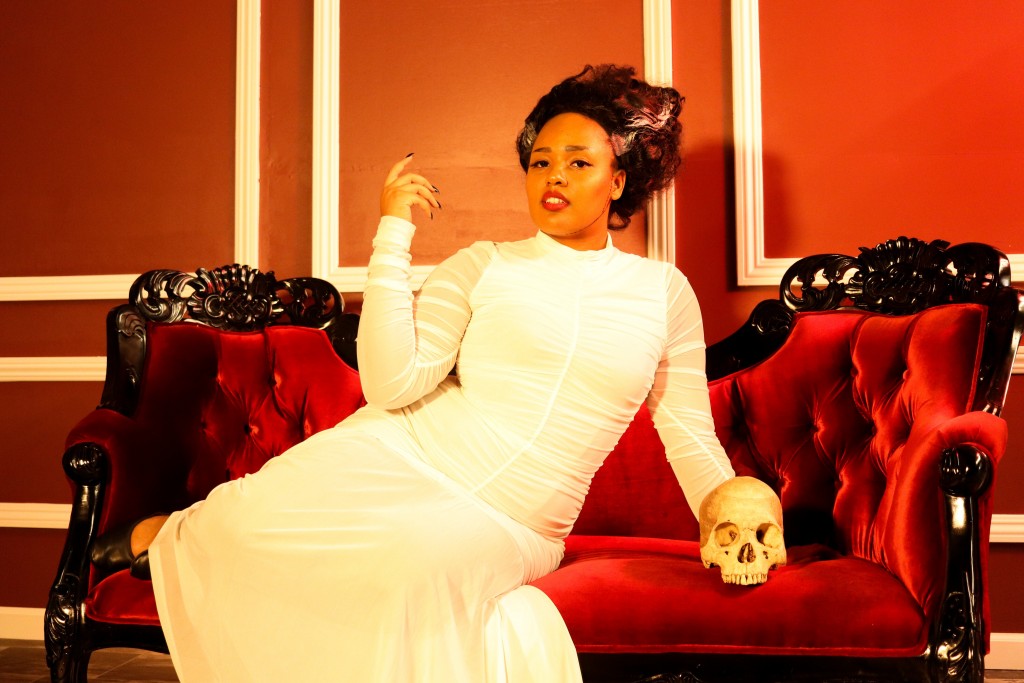
Supplies
- Long straight black Wig or Long curly Black wig
- Rollers of varying size (Skip if you have a curly wig)
- Wig head
- Large pot or Steamer
- Empty 2 Liter soda bottle
- Comb
- Hair tie
- Hair pins
- White colored hair wax
- Hair Spray
Step 1: Curl Wig
If your wig is already curly you can skip this step!

I started off with a long straight wig. I used an old lace front wig I already had in my wig collection. The lace front will give the wig a more realistic hairline.
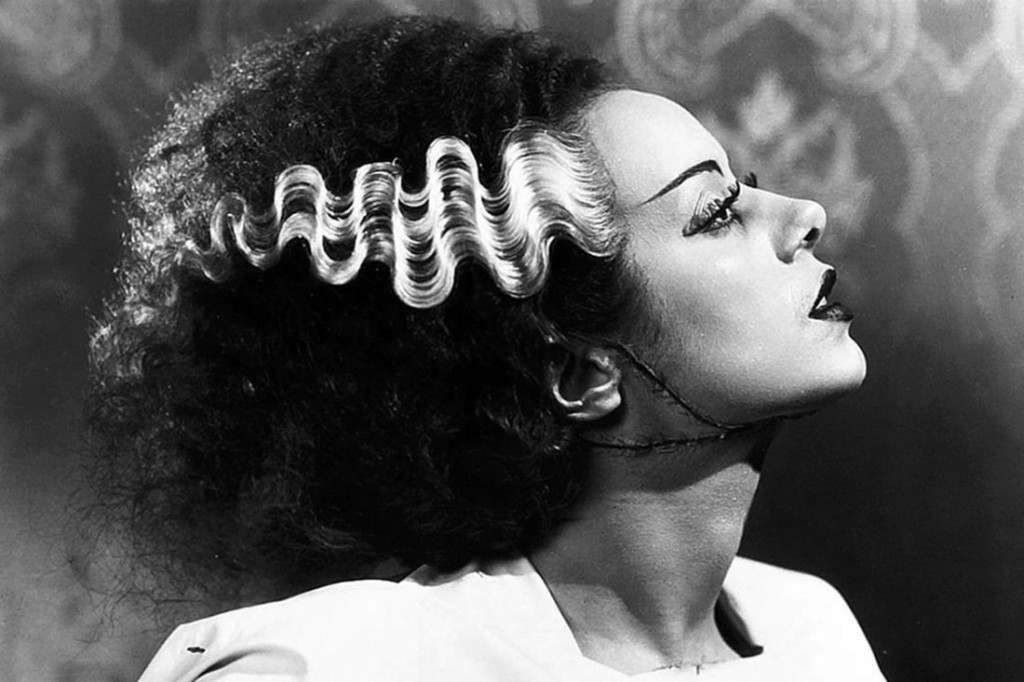
When you look at the Bride of Frankenstein’s hair, you notice a lot of volume and large waves. To get this you need an assortment of hair rollers in different sizes. Reserve the larger sized rollers for hair surrounding the edge of the wig. This will be the top layer of hair that forms pretty waves, for the rest of the wig, use the smaller sized rollers. The smaller curls will give the wig more volume.
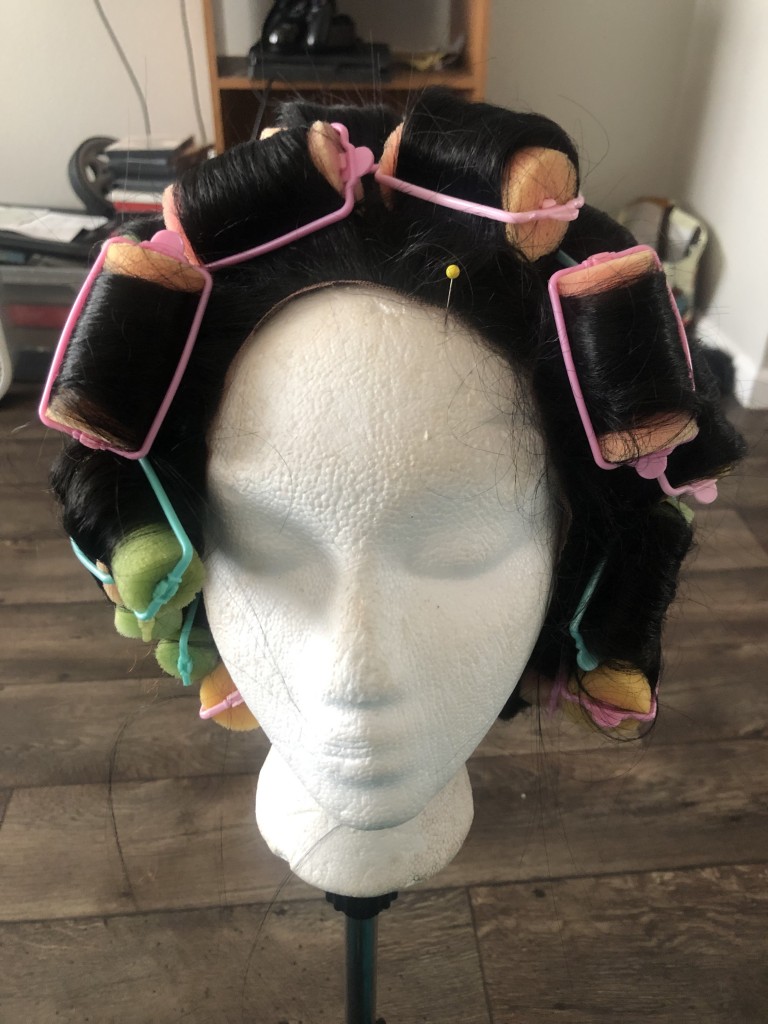
Step 2: Set Curls
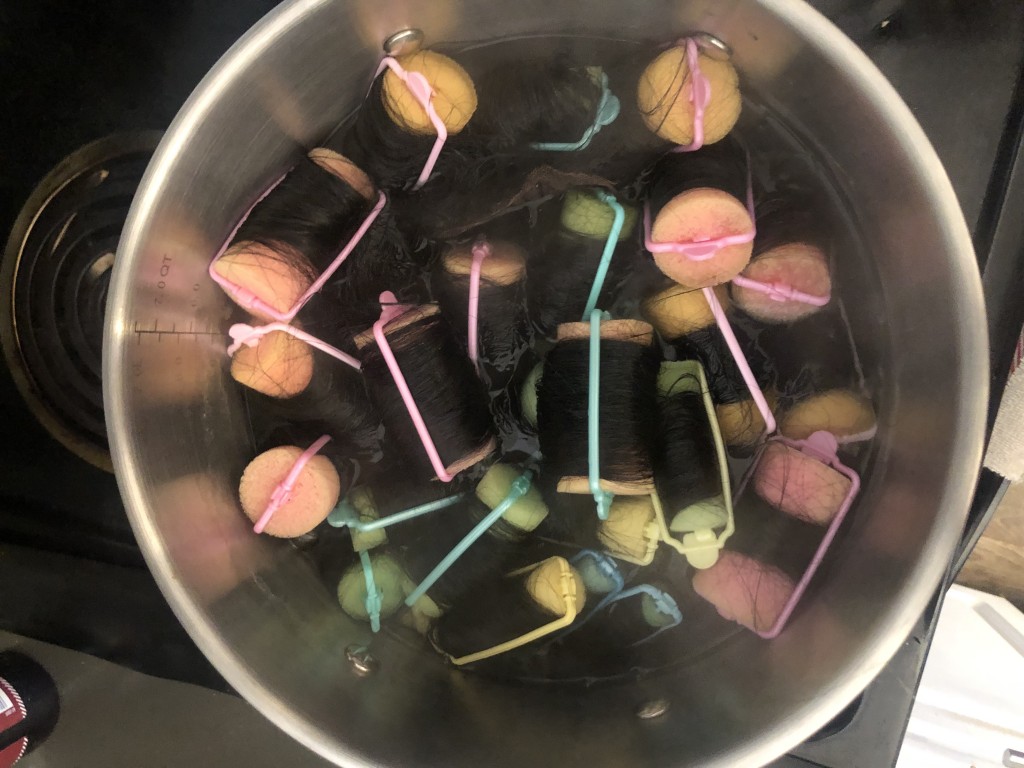
Synthetic wigs need heat in order to set curls. Wig stylists usually set the curls using a steamer but you don’t need fancy equipment for this project! Although I have a steamer, when i curl entire wigs I prefer to use a simple pot of water. Just bring a large pot of water to just below a boil. Then dunk in the whole wig! I usually stir it in the pot for about 2 minutes to make sure it is completely soaked. After draining the water, and soaking the excess water up with towel, I let it sit on the wig head overnight to dry.
Step 3: Tease Curls
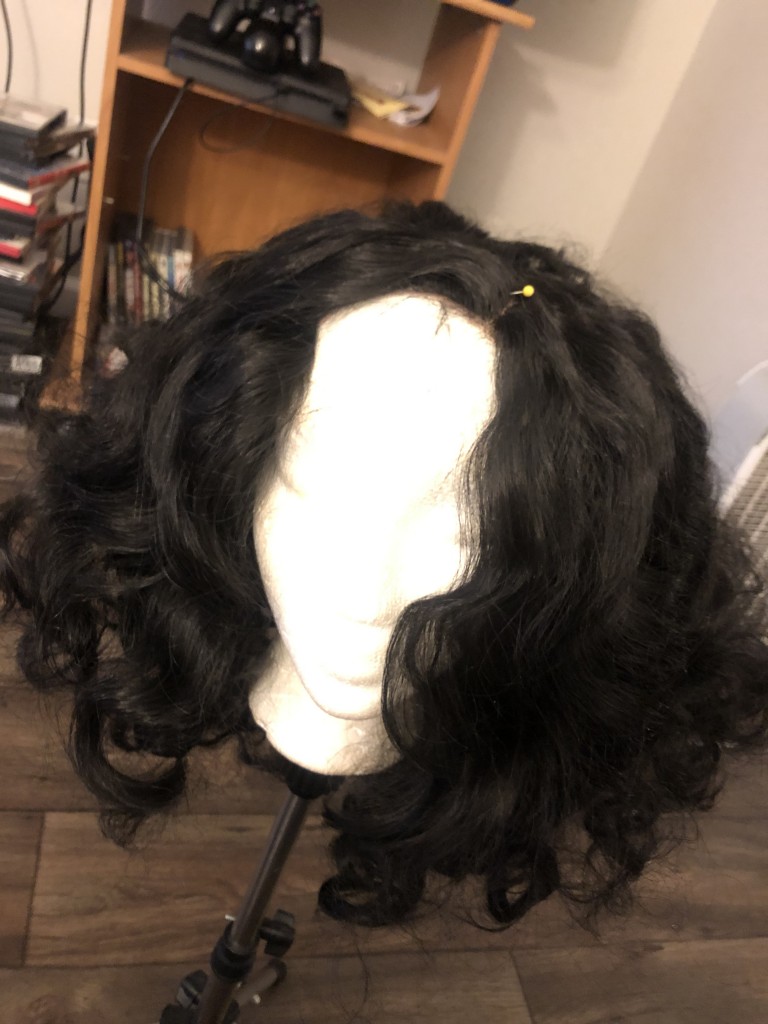
After removing the rollers I was left with this cool, vintage looking hairstyle. It was actually pretty cute, but I had bigger plans for this wig!
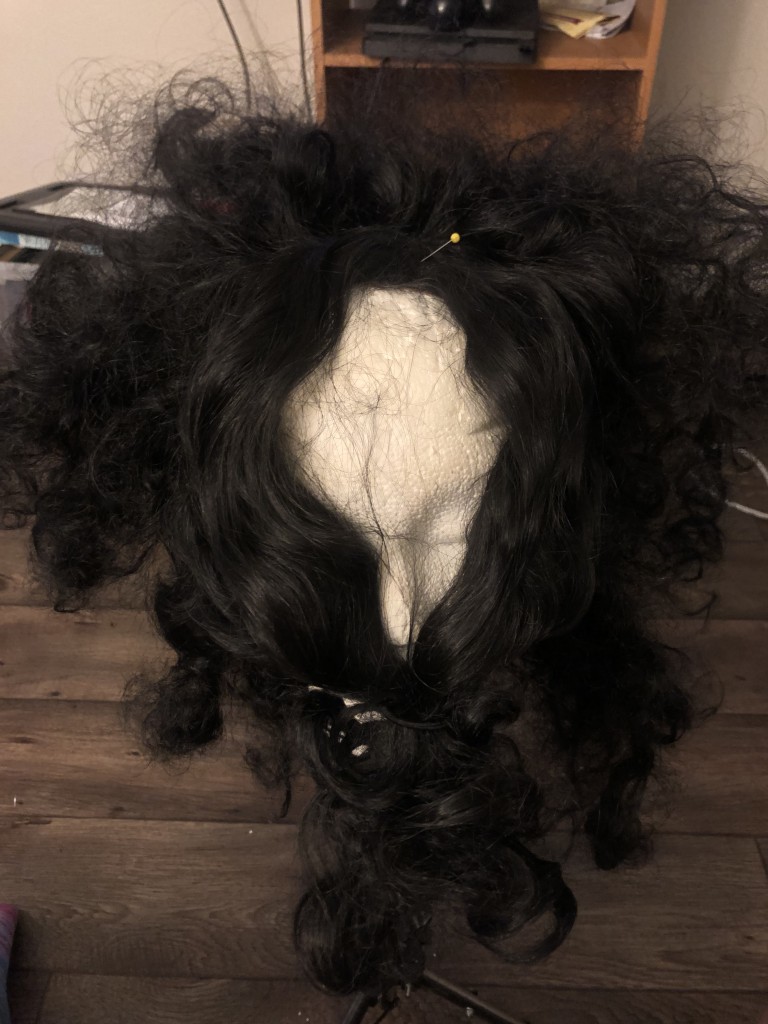
First I separated the hair that was curled with the larger rollers to create a top layer of hair that will not be teased. This is so when the wig is complete the visible hair will still have a nice wave. I used hair ties to keep it out of the way. For the remaining hair, I teased it by backcombing. Backcombing is basically taking a small comb and combing the hair backwards from the ends to the root. This frizzes up the hair and creates a lot of volume.
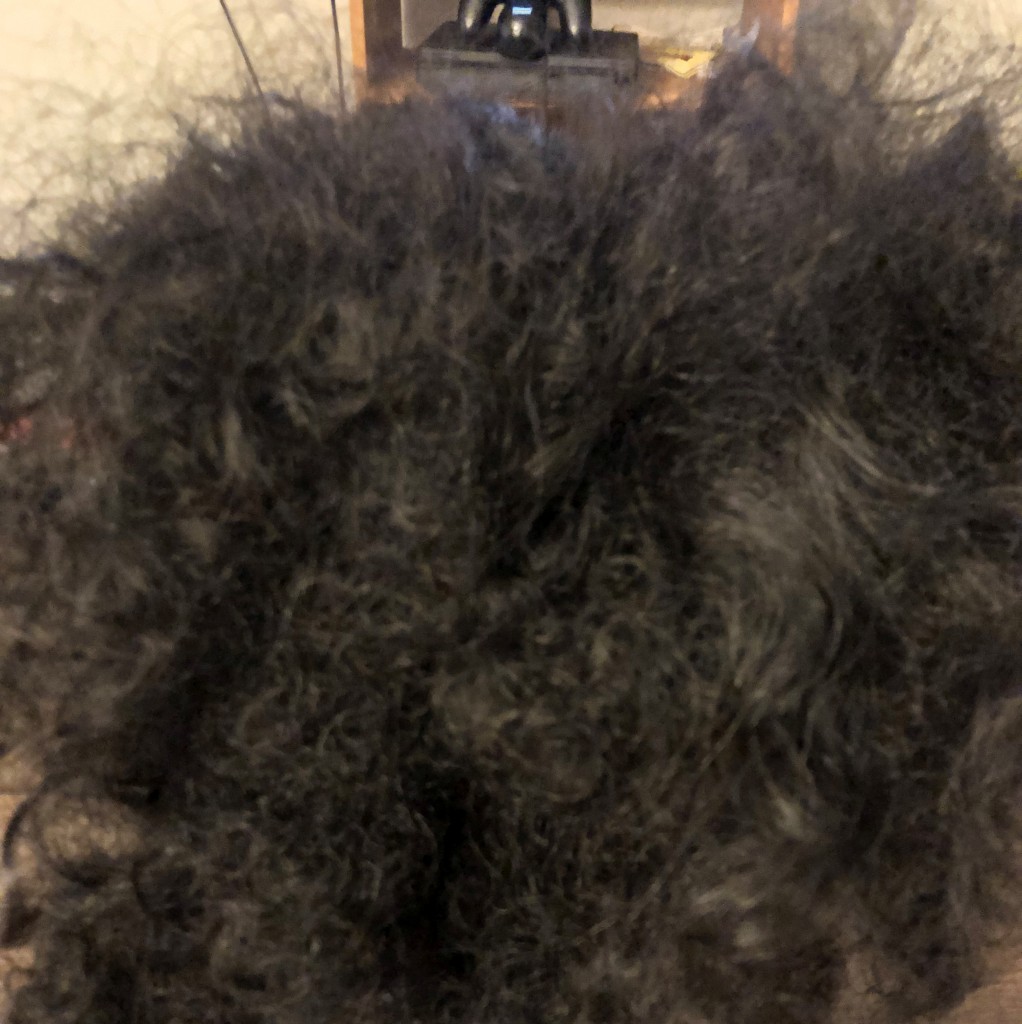
It looks really messy! Just the way we want it. My camera wouldn’t even properly focus on it!
Step 4: Place Soda Bottle
To get the height needed for the Bride of Frankenstein without tons of hairspray or wig stacking, all you need is an empty 2 Liter soda bottle!
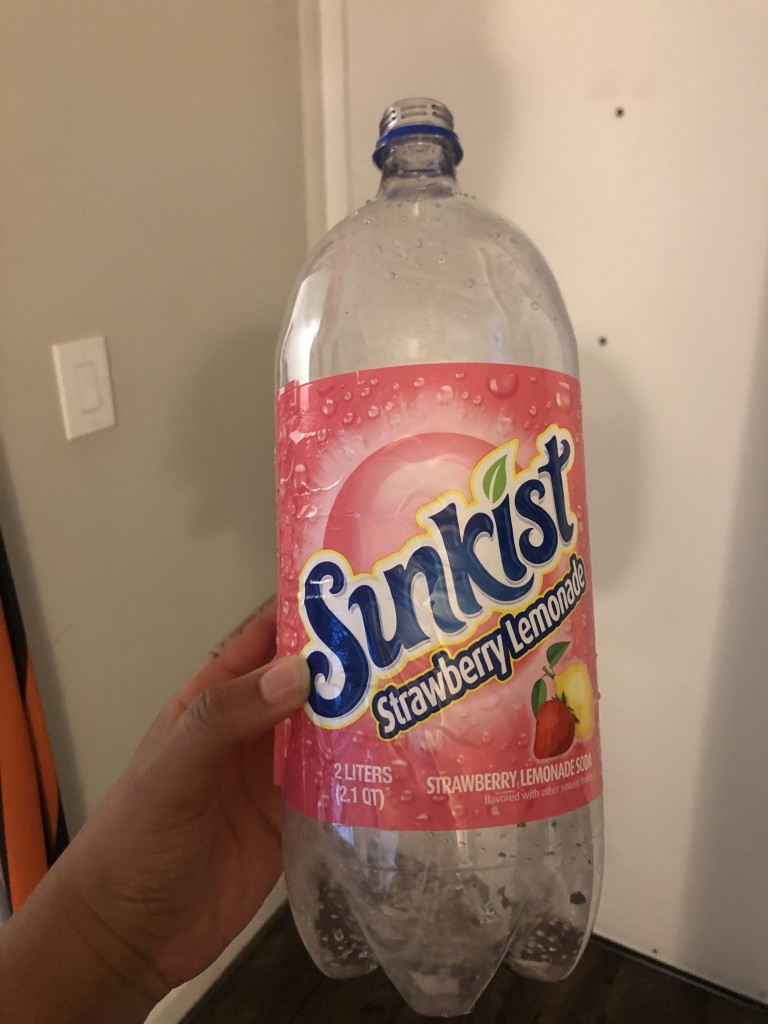
Be sure to wash it out first so your wig doesn’t attract ants!
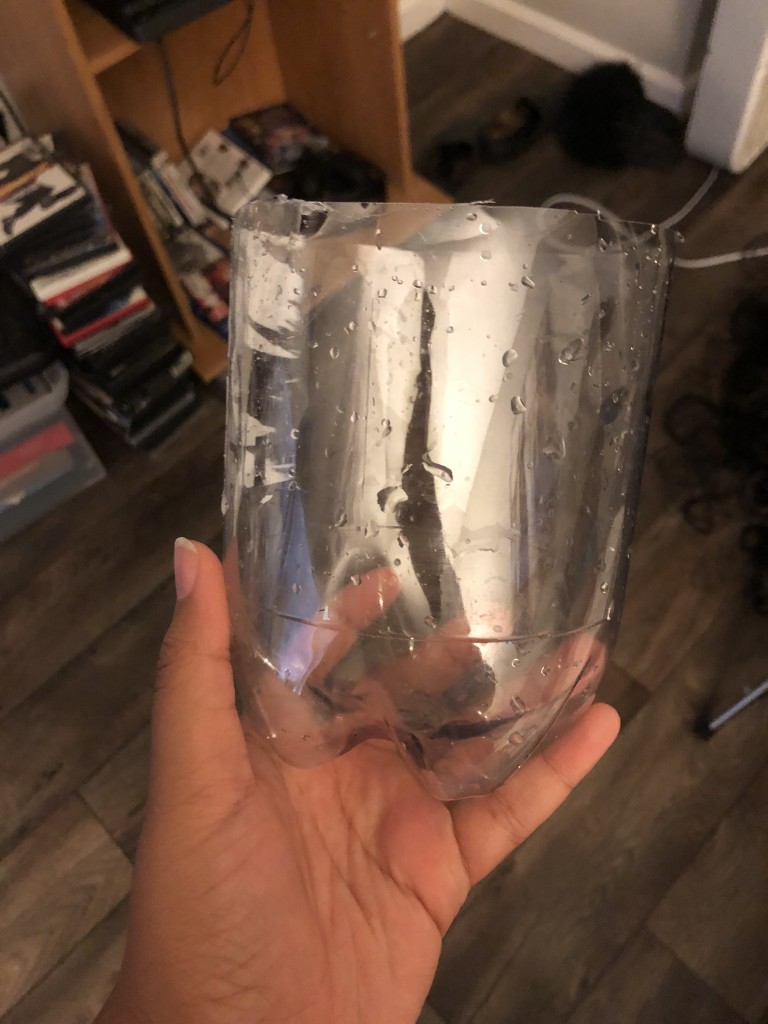
After washing, remove the label and cut it a few inches shorter than the wig’s length. I ended up cutting mine in half.
Step 5: Shape and Pin Wig
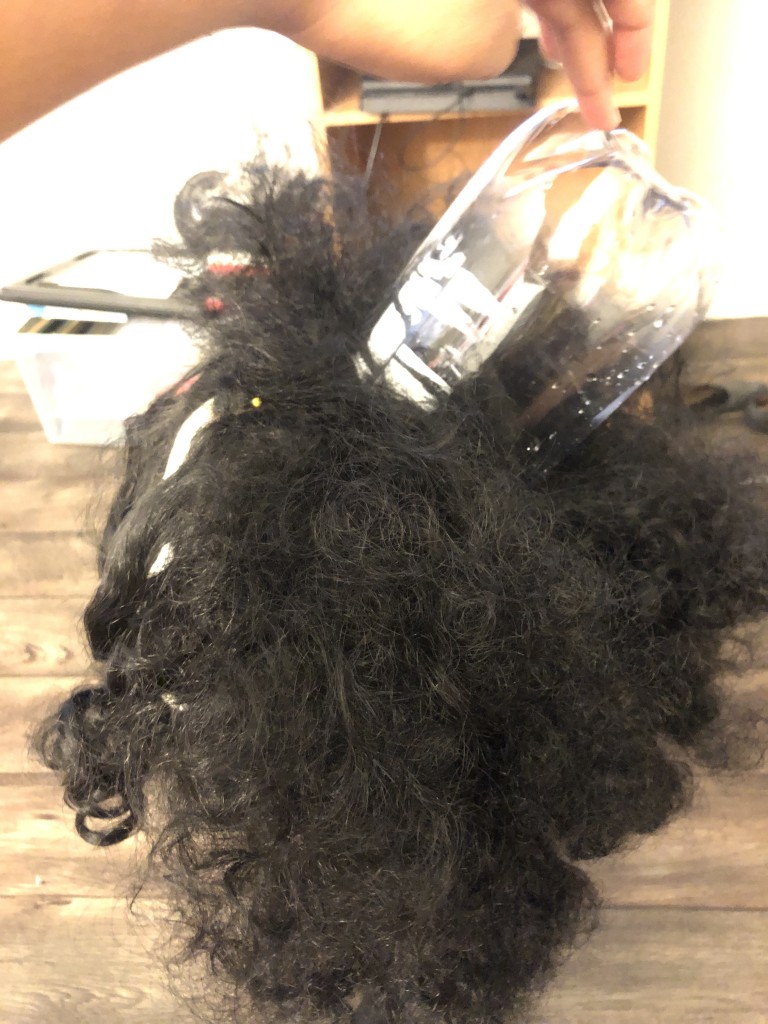
Move as much hair out of the way as possible in the middle of the wig so you can place the bottle.
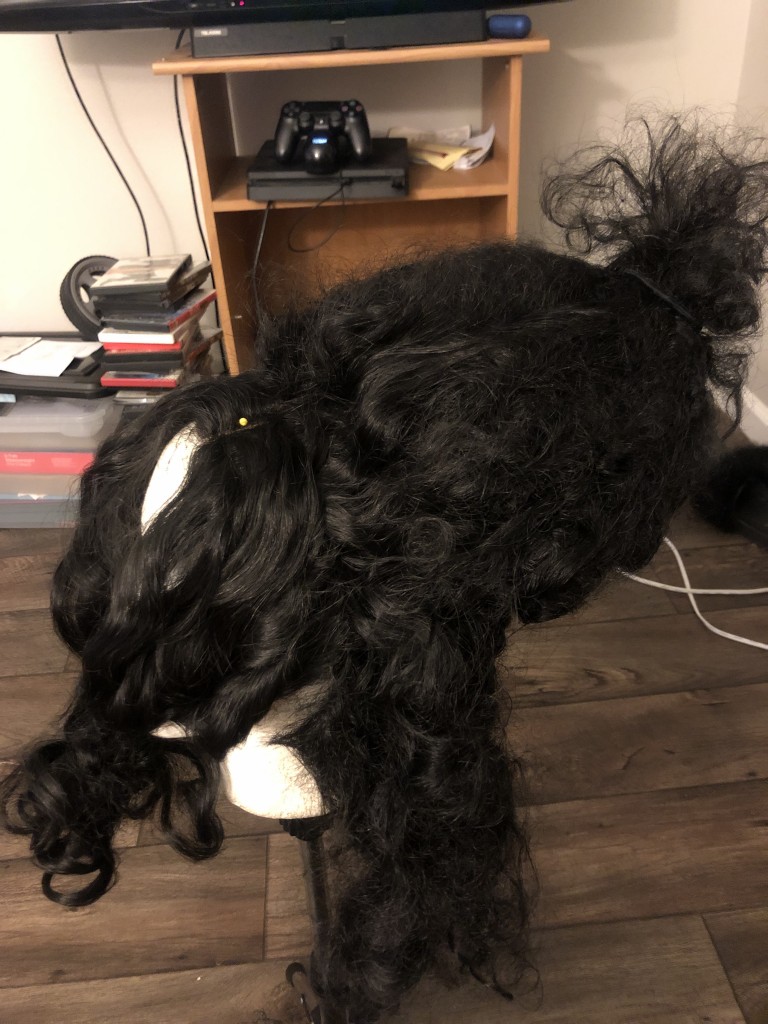
Gather the hair around the bottle. Leaving the top layer of hair free. To keep the bottle in place simply use a hair tie!
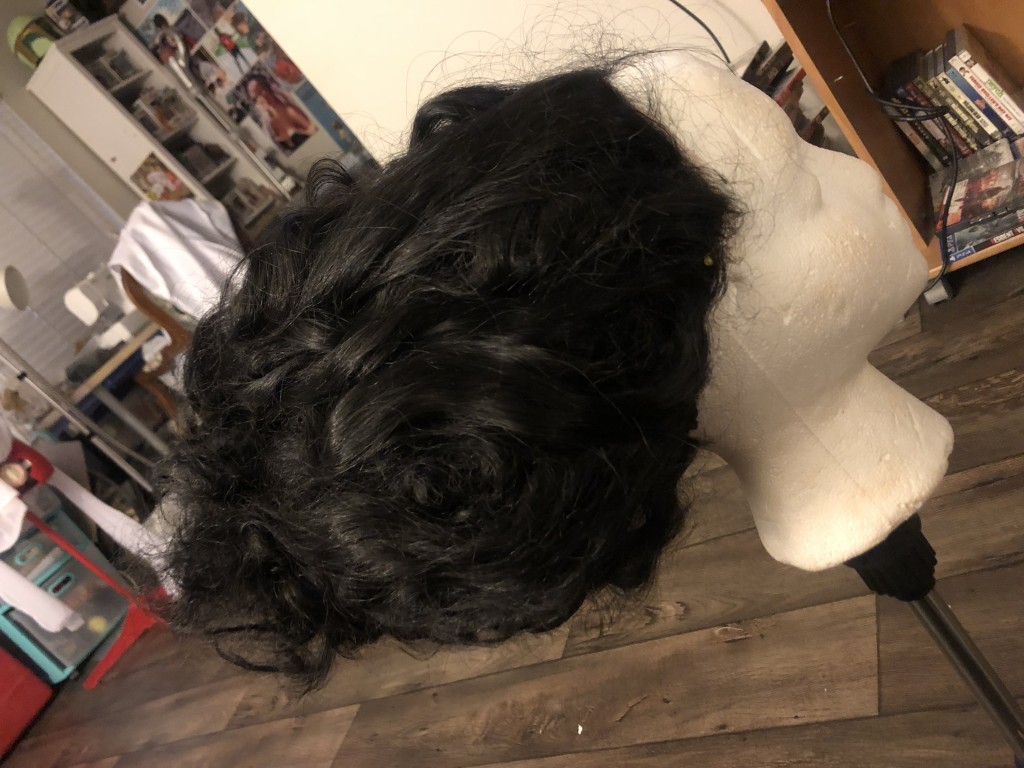
Next use hair pins to place the top layer of hair. Since the larger rollers were used, these sections of hair are longer and will hide the hair tie from sight. Be sure to pin a couple inches from the ends of the hair to leave the ends free.
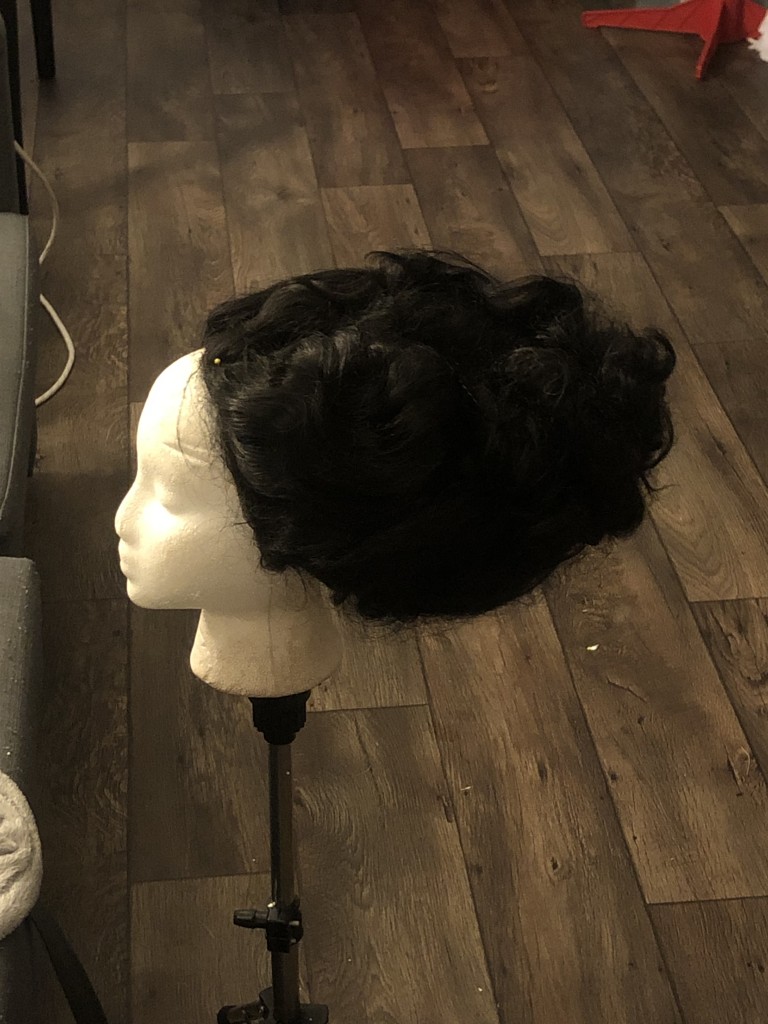
Step 6: Add White Stripes
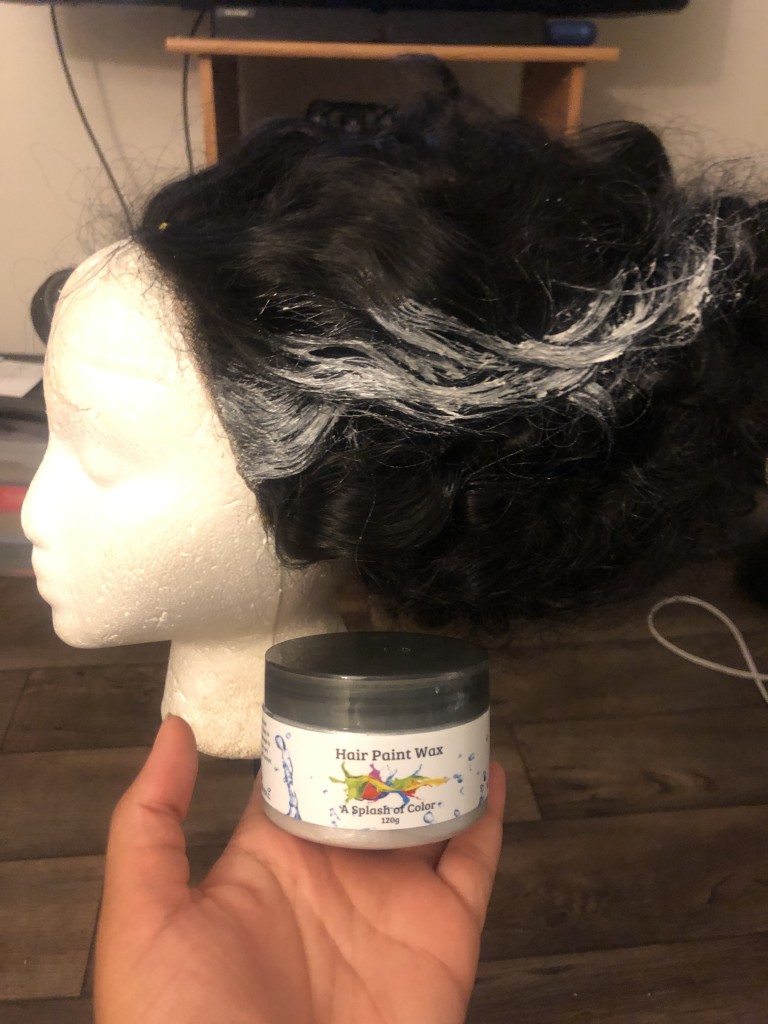
I used white colored hair wax to paint the white stripes on each side of the wig. The Bride of Frankenstein’s white stripe is usually one section of curled hair, but my sections were kind of all over the place so I made the wavy stripe myself by painting over multiple sections of hair.
Once the stripes are painting how you like, spray it all over with hairspray to hold the top layer in place. Your DIY Bride of Frankenstein wig is now complete! And with that you’re ready for Halloween!

Alia
(Everyday is Halloween)
Latest posts by Alia (see all)
- San Diego Comic Con 2023 Cosplay Recap - July 25, 2023
- WonderCon 2023 Cosplay Recap - March 28, 2023
- Anime Los Angeles 2023 Cosplayers - January 13, 2023


