One Costume, Three Ways: DIY Renaissance Tiana
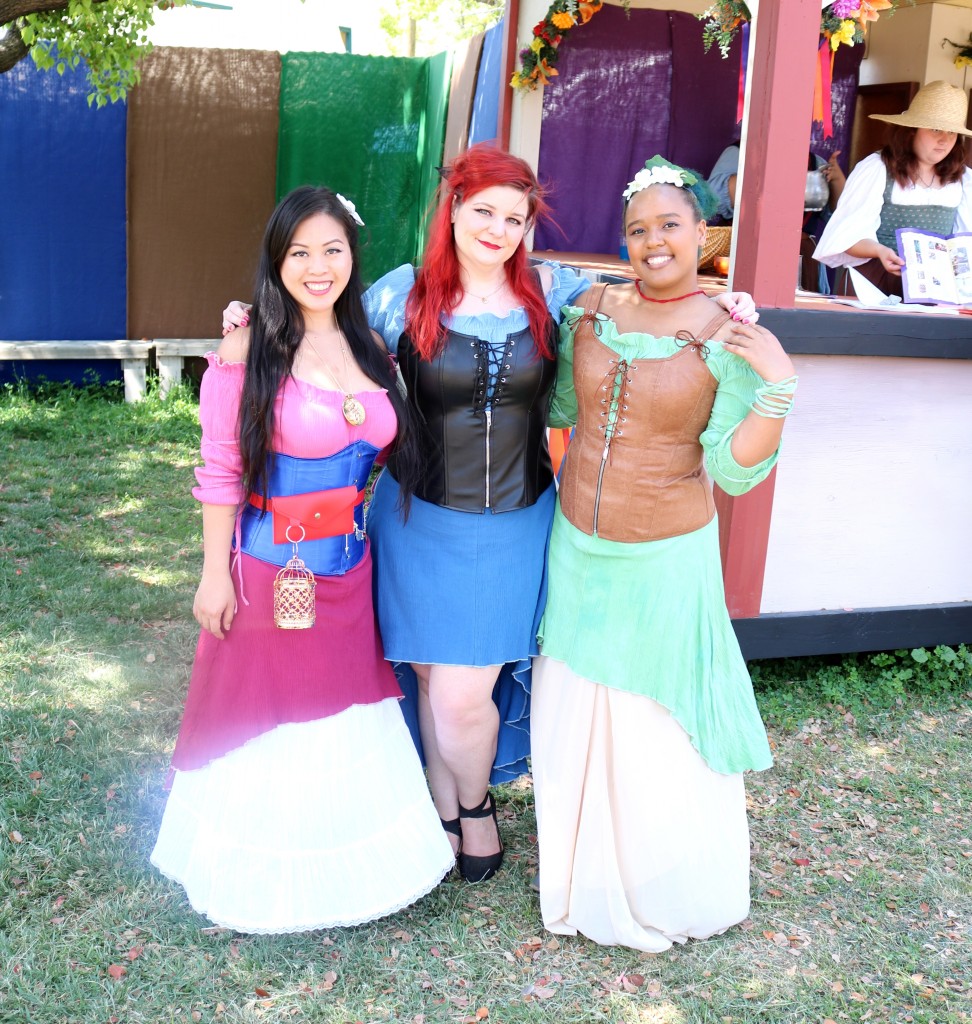
This past weekend we took a trip to the Original Renaissance and Pleasure Faire for Opening Day. For our costumes, we decided to add a little Disney to the Faire and dress as Renaissance Disney princesses! All three of us ended up using the same base dress for our cosplays but dyed them different colors and added our own accessories to achieve the perfect look for our specific characters.
I decided to dress up as my favorite Disney princess, Princess Tiana, from The Princess and the Frog. I considered doing her casual yellow outfit, or even the Renaissance outfit she wears at Lottie’s costume party, but I ultimately decided on the green Bayou Wedding Dress as it is the most iconic of all her outfits.
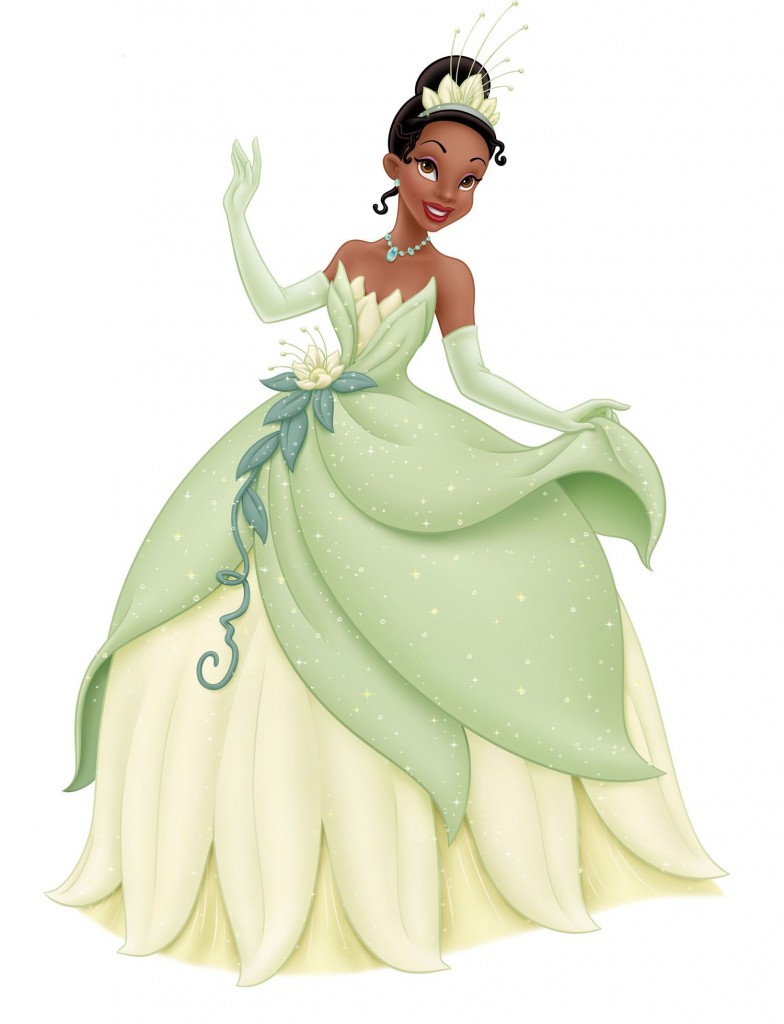
After browsing the internet for ideas and even fan art to recreate, I used items I found on the internet and some simple Photoshop skills, I put together an idea of how I wanted my costume to look.

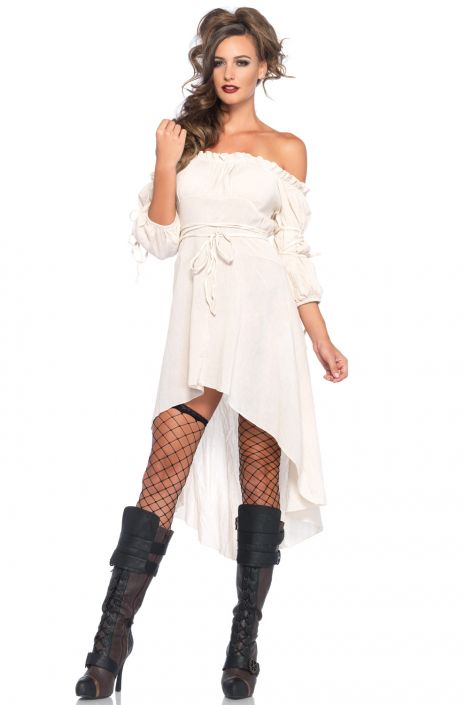
As previously mentioned, we decided to use the Renaissance Peasant Dress Adult Costume in Ivory as it would be easy to dye. I found a corset and beige maxi skirt on Amazon that would tie the whole thing together.
Time to Dye!
Materials:
- Large Pot
- Hot water
- 1 cup of salt
- Splash of laundry detergent
When dyeing fabric the fabric content is very important. Natural fibers such as cotton and silk are a lot easier to dye that synthetic fibers like polyester and nylon. So when you want to dye something be sure to find out what it’s made of and find a dye suitable for that fabric. Lucky for me, this costume is made of 100% cotton.
*Note: Fabric that is 100% cotton is known to shrink after being placed in hot water. If you can’t determine if your costume is pre-shrunk, you may want to size up just in case your fabric shrinks alittle.
For this costume I chose Rit Dye in Kelly Green. You can find it at your local craft store for like $2.
Be sure to read all the instructions before you start! Once you’ve got the fabric in the dye bath, the instructions say to leave in for 30 minutes. However I wanted the finished product to be a little lighter than the dye’s intended color. When you want the fabric to be lighter than the dye, check your fabric every 5 minutes to see if it has reached the desired color.
I ended up leaving mine in for only 5 minutes
*Remember once the fabric dries it will look a little lighter than it does in the bath.
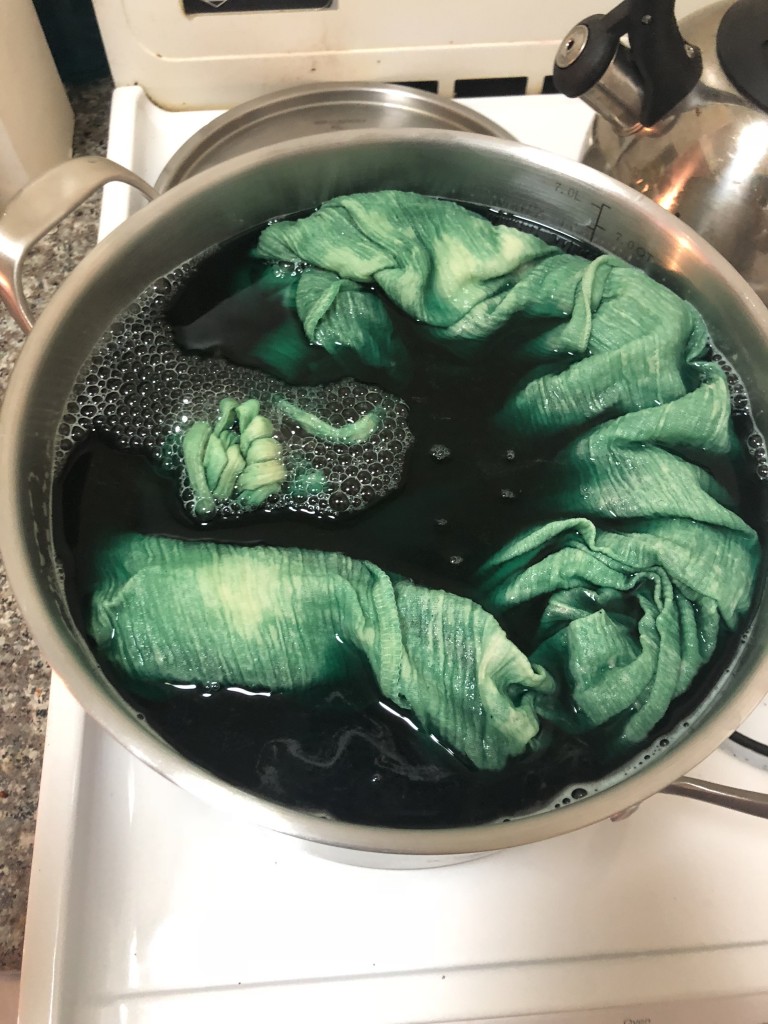
After 5 minutes I took my costume out of the pot with tongs and rinsed it thoroughly in the sink. If you have a washing machine you can also use the rinse cycle to do this.
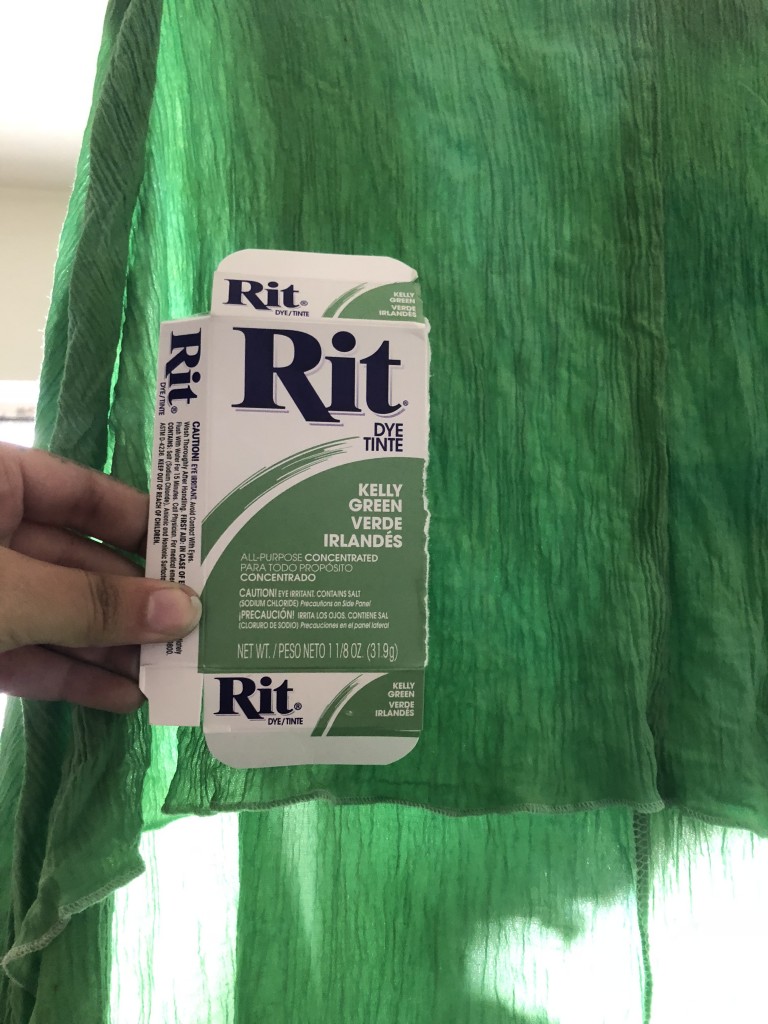
After rinsing the dye did look darker than I wanted it, but there was no reason to freak out yet. Since fabric is darker when wet I hung mine in the shower overnight to see how it would look once dry.
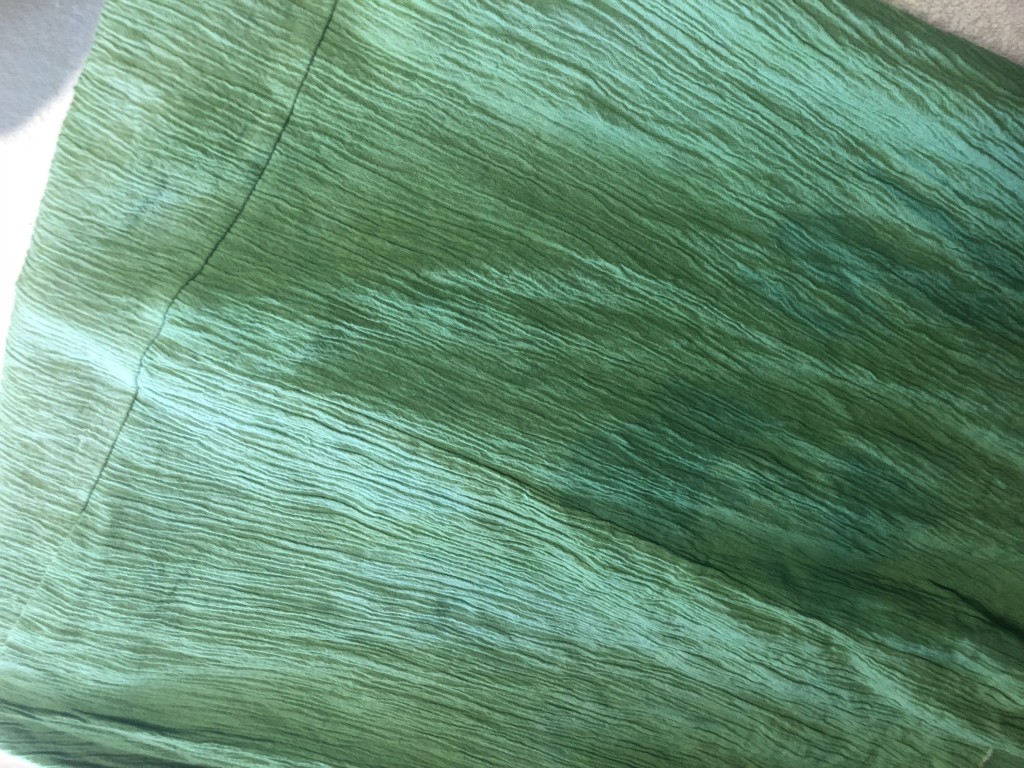
After letting it dry the color looks good! It wasn’t too dark at all. And after trying on the costume again, I found that it didn’t shrink at all as it must have been pre-shrunk.
Putting It All Together
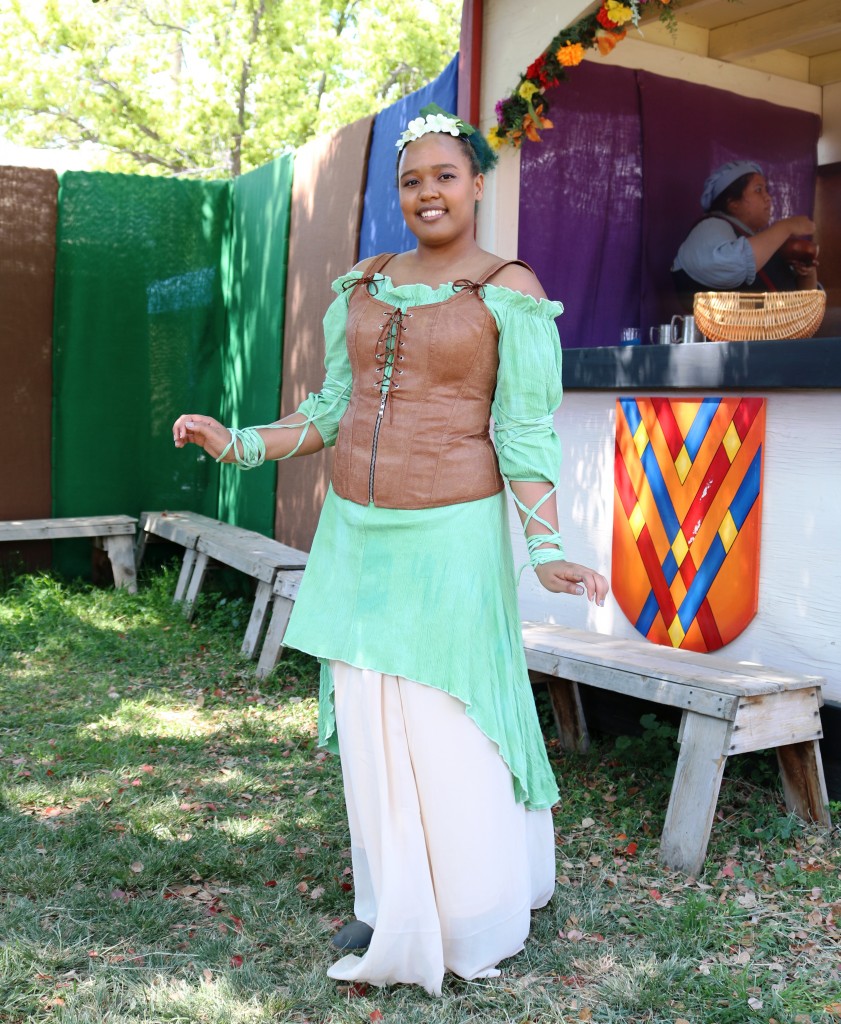
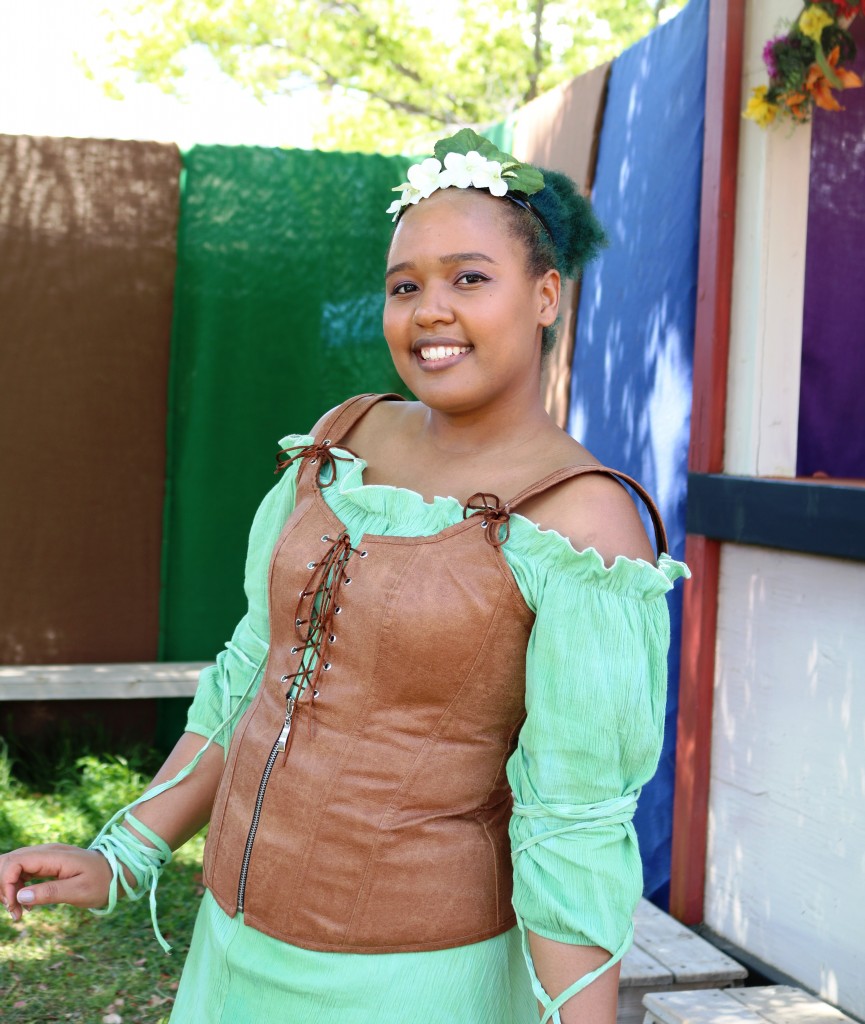
The day of the faire I made a last minute crown. All I did was hot glue fake flowers and leaves to a headband I already had.
The costume was a success! A lot of people recognized that I was dress as a renaissance version of Tiana. It was a super easy costume that made for a fun day at the Renaissance Faire!
Find the tutorials for Mulan and Ariel here and here.
Alia
(Everyday is Halloween)
Latest posts by Alia (see all)
- San Diego Comic Con 2023 Cosplay Recap - July 25, 2023
- WonderCon 2023 Cosplay Recap - March 28, 2023
- Anime Los Angeles 2023 Cosplayers - January 13, 2023


