Prop Weapon Painting Tutorial
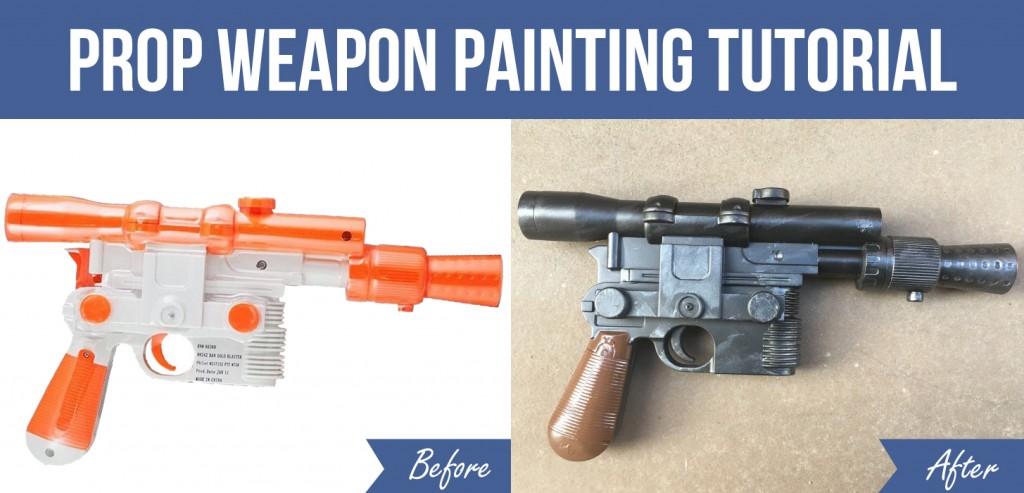
If you’ve ever cosplayed or worked hard to make a screen accurate costume, then you have been in this situation before. You’ve worked really hard to make sure your movie costume is perfect in every way. You’ve spent hours researching the costume, looking for pictures with different angles, figured out how to make the different pieces, and spent weeks putting it all together. Now it’s time for the finishing piece: your prop weapon.
Oh no! All you can find are expensive replicas you’ll have to spend hundreds of dollars on! If you don’t want to spend that money, you’re left with neon orange and white toy costume guns. Those aren’t screen accurate at all! So what do you do?
In the cosplay world, I’m known as MagicalBlackGirl Cosplay, and I constantly get questions on how I made my Han Solo Blaster. Lucky for you, I have put together an exclusive tutorial for Pure Costumes to teach you an easy way to turn a toy weapon into a more screen accurate version without breaking the bank.
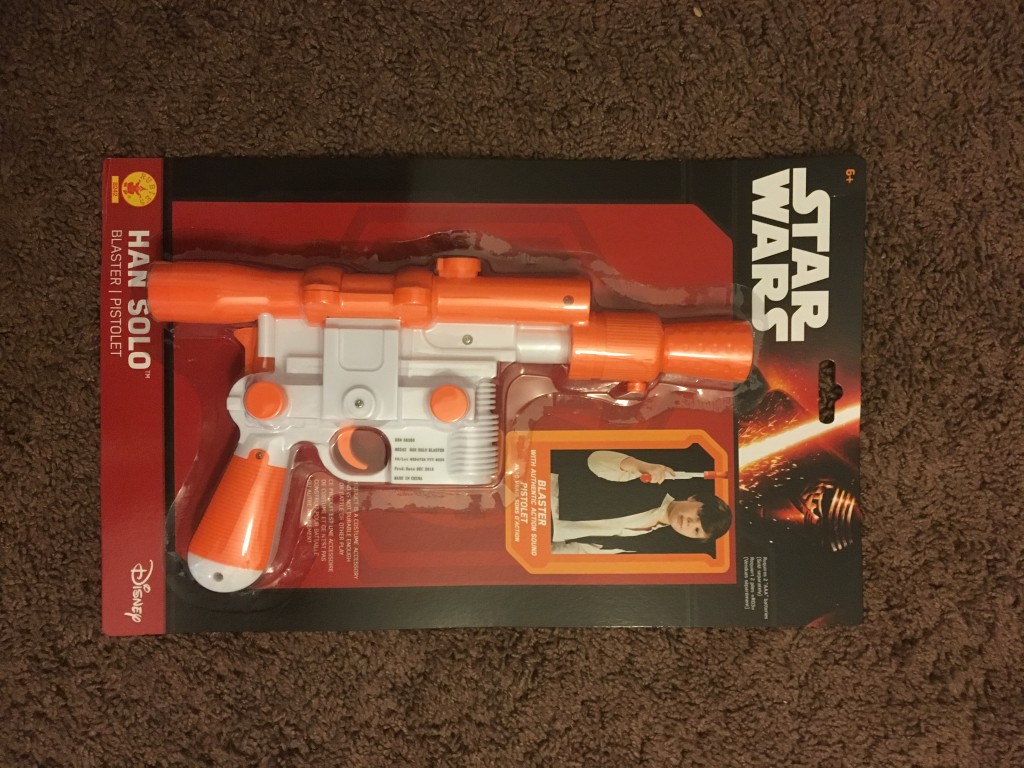
For this tutorial I will transform this Han Solo Blaster Toy Gun:
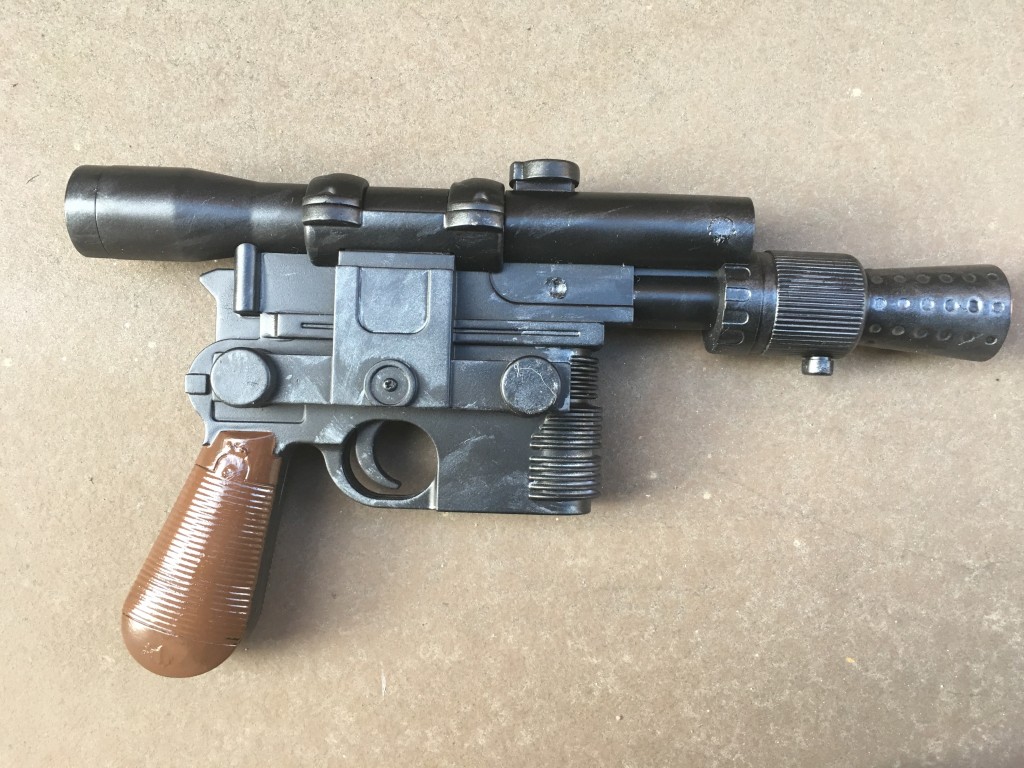
Into a more screen accurate version:
Items Needed:
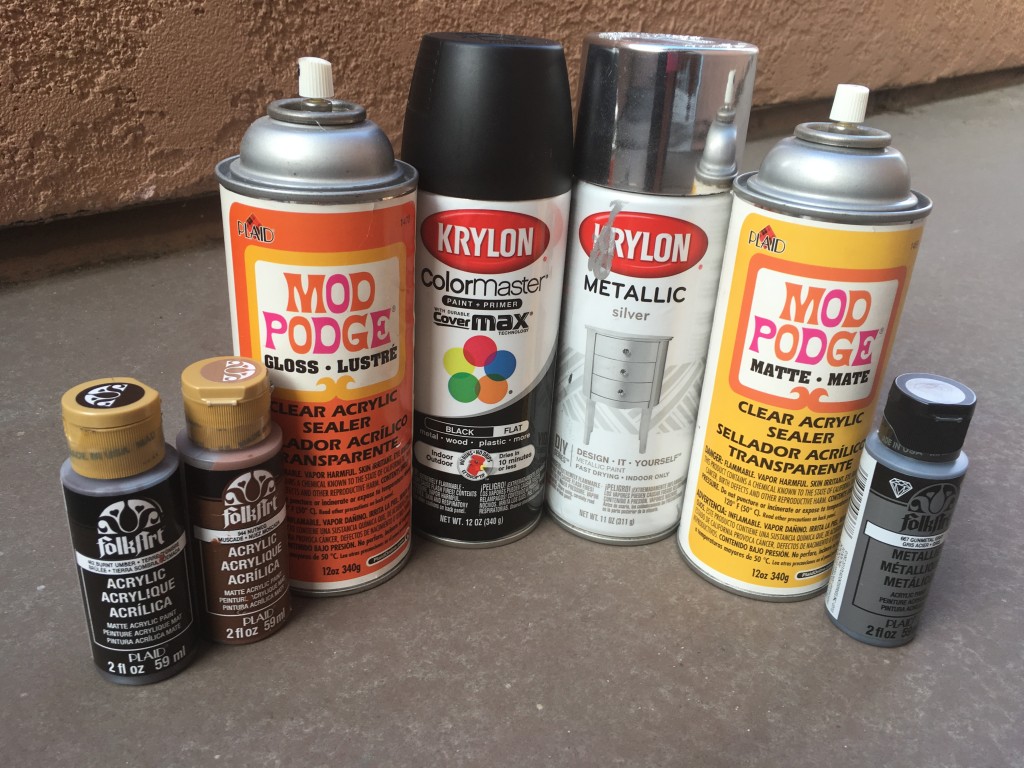
- A prop weapon
- Hot glue gun
- Glue sticks
- Sandpaper variety pack
- Rotary tool with sanding heads (optional)
- Silver metallic spray paint
- Black spray paint
- Gunmetal acrylic paint
- Brown Acrylic paint
- Paintbrush
- Sponge
- Papertowel
- Spray acrylic sealant
Step 1: Fill in the Holes
Toy guns usually have small holes on one side for the screws that are holding it together. There’s usually only one or two, but if your prop gun makes sounds there may be more screws needed to hold the battery cover in place. These holes can really ruin the look of your prop, or limit you to keeping only one side of the prop visible.
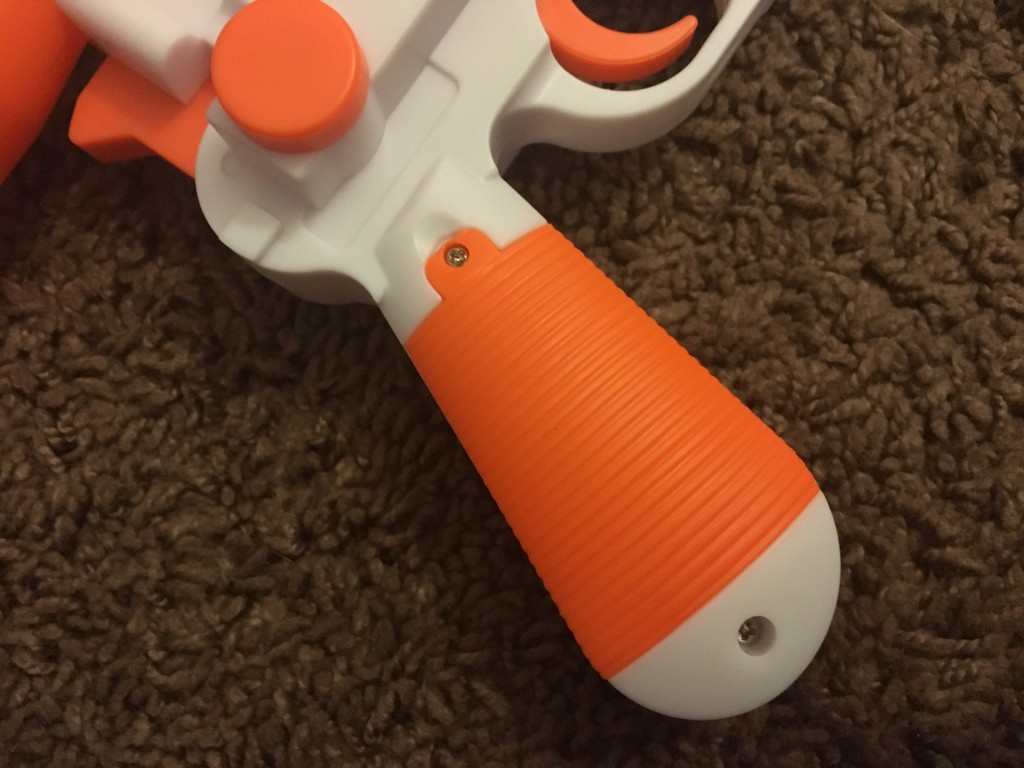
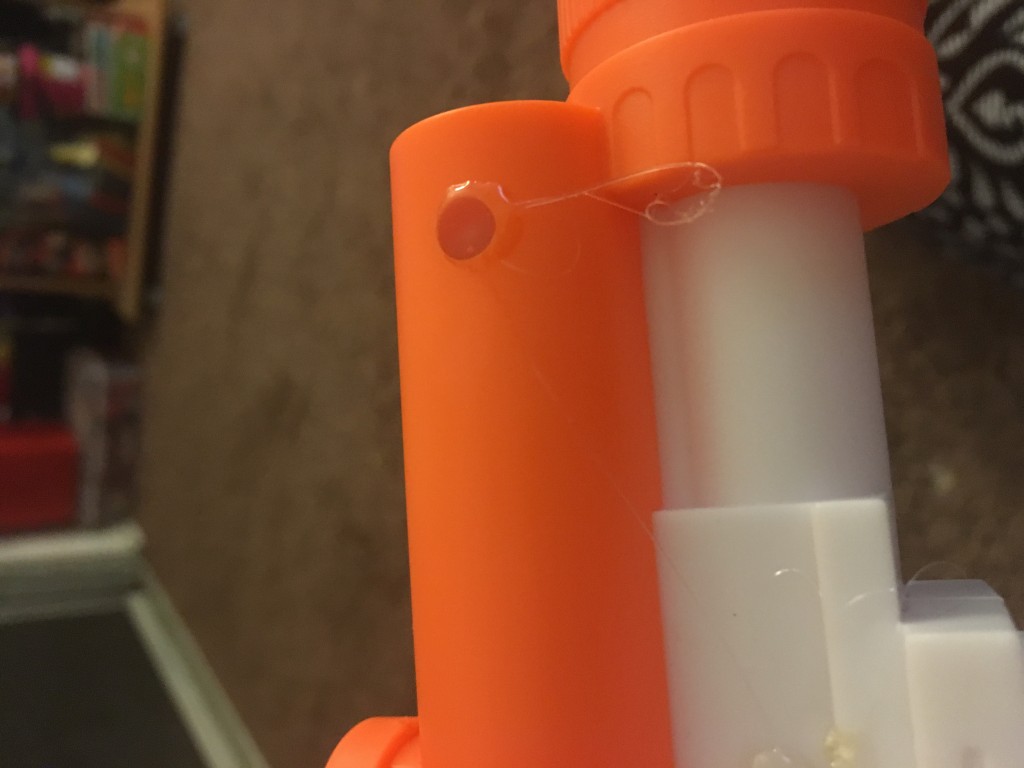
A cheap way to fix these is to fill in the holes with hot glue. It’s okay if the glue overflows a little. We’re going to fix that later.
Step 2: Sanding
For the first part of this step you’ll need very coarse sandpaper. Or you can use a rotary tool (such as a Dremel) with a sanding head which will make the sanding process easier.
If the hot glue overflowed, sand down the edges until it is flat. Wait about 5 minutes for the glue to dry a little before your start. It should still be a little soft at this point so you don’t have to sand too much.
Now it’s time to take care of any logos on the prop. A lot of toys and props have a raised logo or copyright somewhere on the gun and in order to have a screen accurate prop we don’t want that!
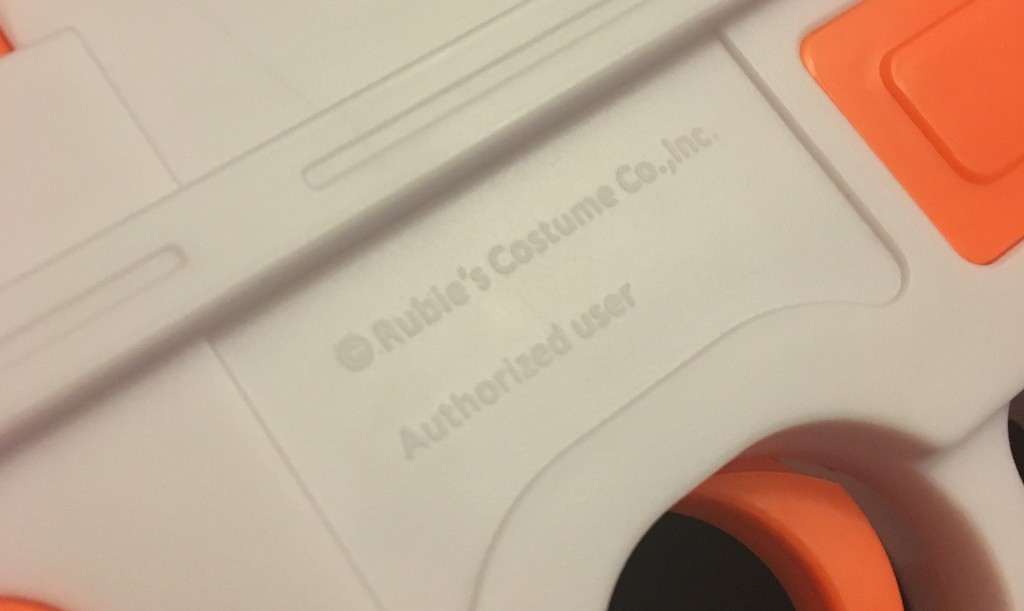
With the coarse sandpaper or your rotary tool sand away the raised logo on the gun.
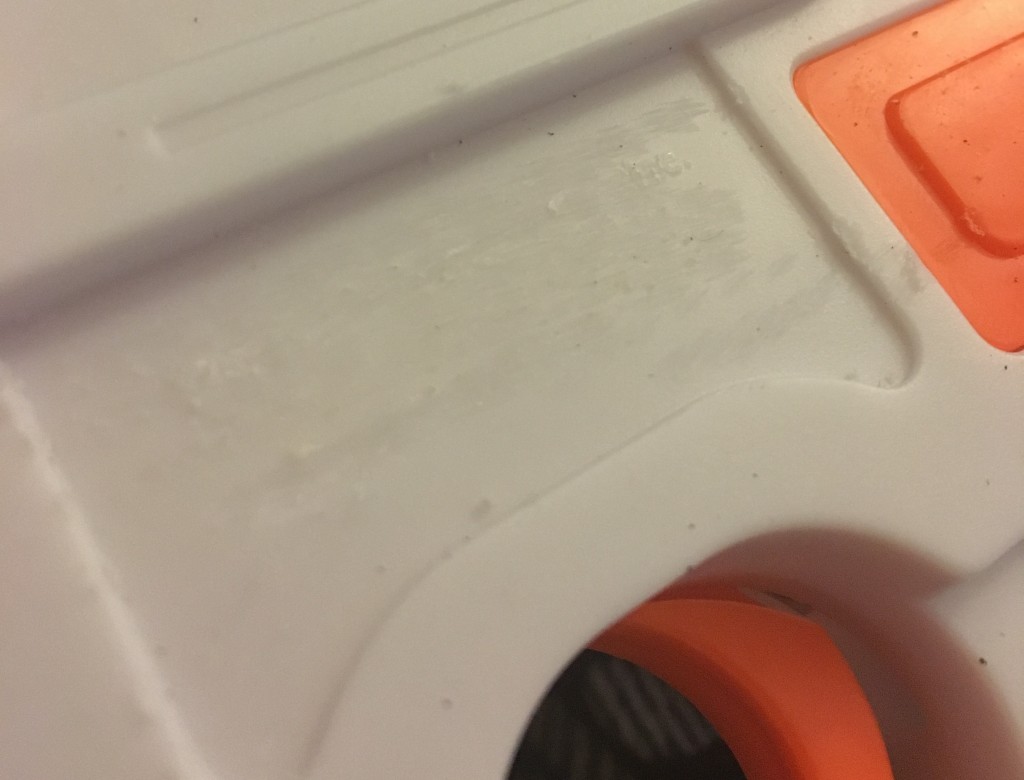
Afterwards it may look a little rough. This is where the fine grain sandpaper comes in. Use this sheet of sandpaper to smooth the surface where you just removed the logo.
Next use the same sheet of sandpaper and rub it over the entire gun a couple of times. This preps the gun for paint by creating a rough surface for the paint to stick.
Step 3: Base Paint
IMPORTANT: When dealing with prop weapons safety is the most important thing. For prop guns that aren’t huge or look completely out of this world it is important to leave at least part of the tip orange. How much orange you leave on the gun depends on where you are planning on carrying it. If you are only planning to carry the prop for a photo shoot in a private location, you may not need to leave the entire tip orange. However if you plan to carry the prop in public or to a convention, it is safer to leave the front and at least some of the sides of the tip orange. Be sure to check the weapons policy of events and conventions you plan to attend before you paint your prop gun.
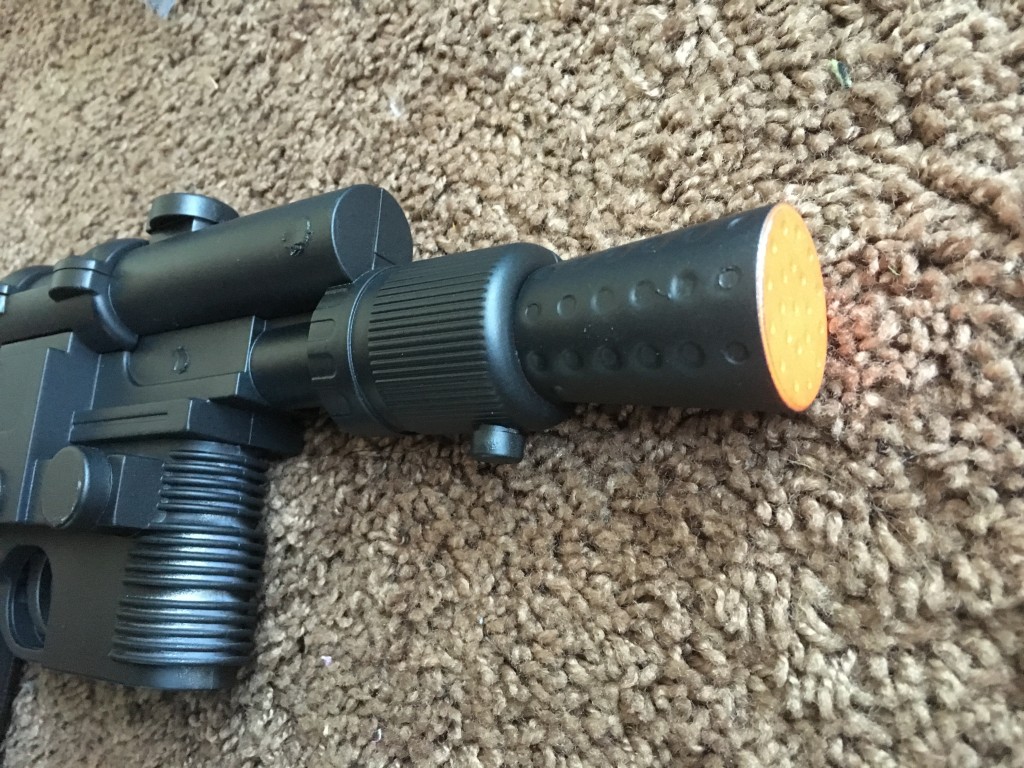
Use the silver spray paint to paint the gun. Make sure it has dried before you flip it over to paint the other side. Don’t forget to spray paint the top and bottom of the weapon, the trigger, and any little crevices that may be harder to see!
Wait about an hour to make sure the coat has fully dried before you repeat the process with black spray paint.
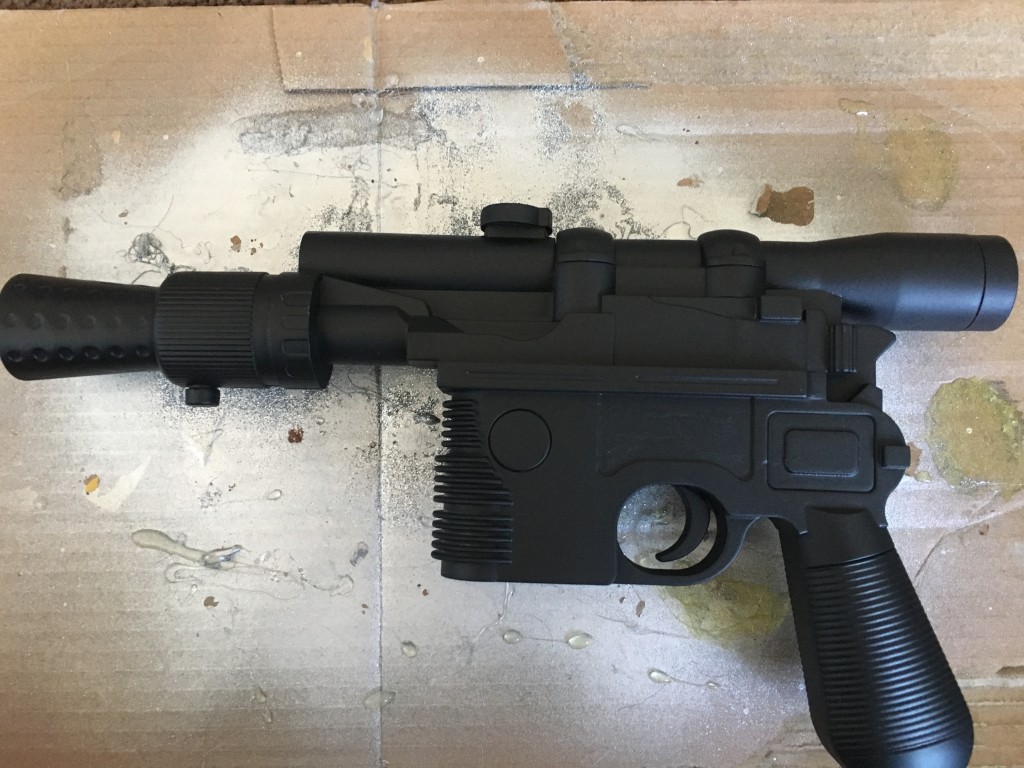
Step 4: Make It Metal!
Once the black spray paint has full dried it’s time to make the gun look more like metal! Don’t worry about being perfect with this step. You want the prop to have a weathered and worn down look. For this step I used Folk Art Metallic Paint in “Gunmetal”
With a dry sponge or sponge paint brush apply a small amount the gunmetal acrylic paint to parts of the gun at random. Immediately after applying the paint to one part, use a paper towel to wipe most of the paint off. The paint left over should be faint and should not completely cover the black paint underneath. This makes the prop look like some of the paint has worn off through battle.
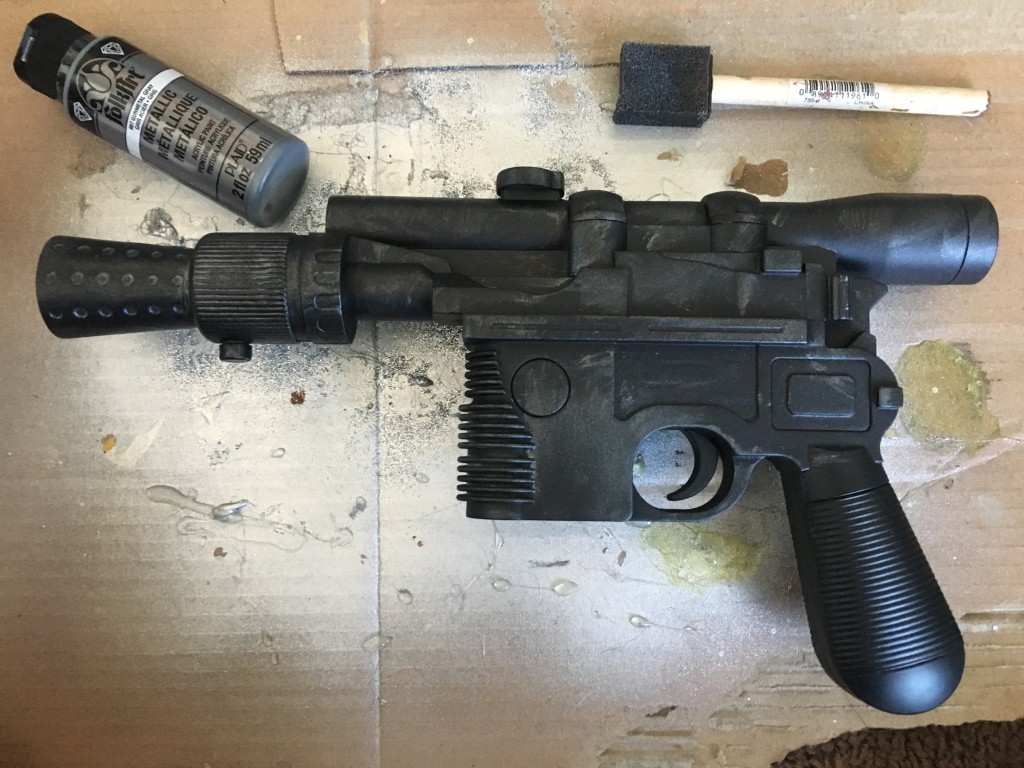
Be sure to look at pictures of the movie prop for reference. This will show you what areas of the prop need to be more worn. In the case of Han Solo’s blaster, the tip of his gun and the ridges have more wear that the rest of it. You can apply more paint to this area to make it look the most worn down.
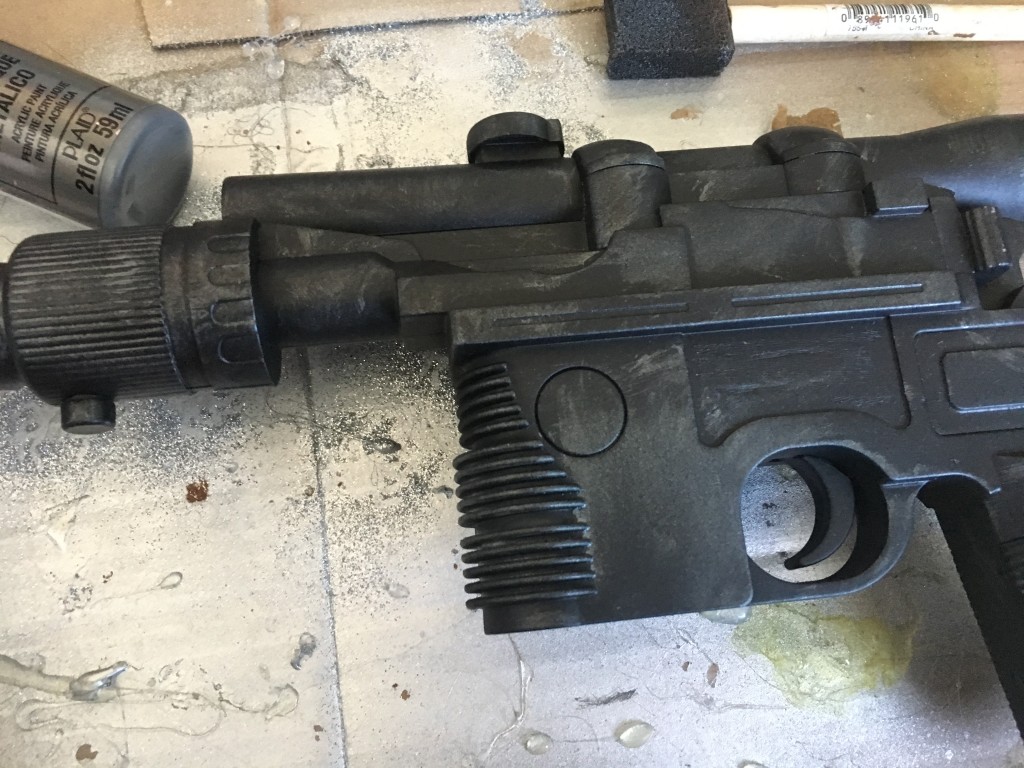
Step 5: The Handle
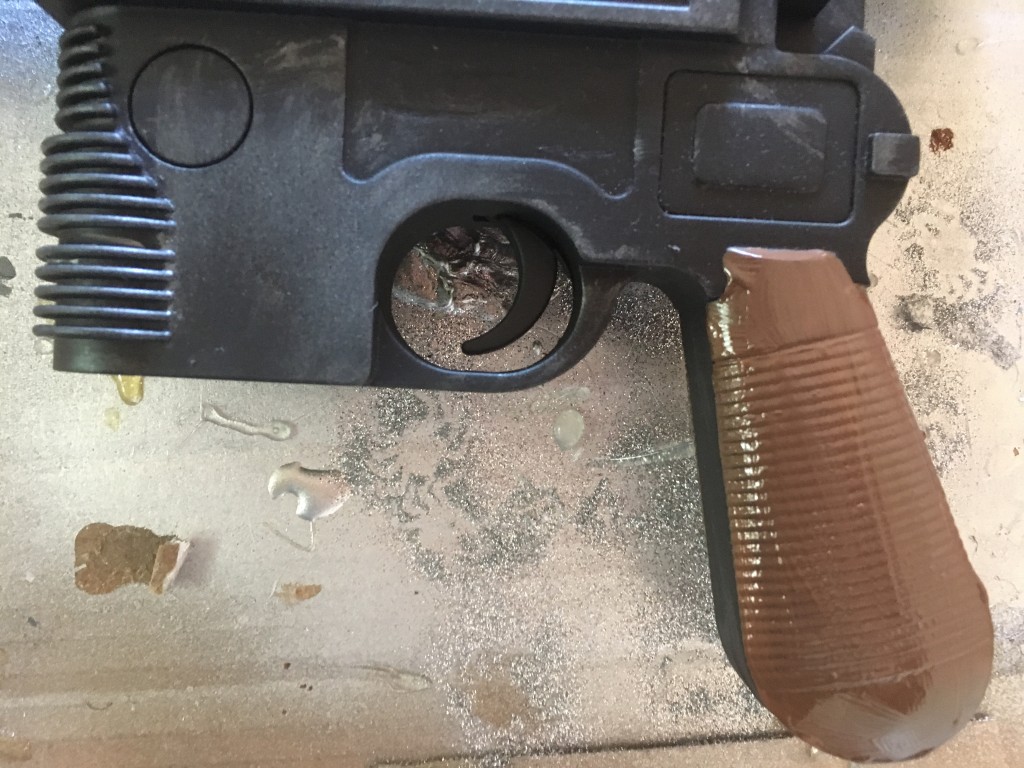
Han Solo’s blaster has a wood handle. For this I mixed together acrylic paint in “Burnt Umber” and “Nutmeg” to get the perfect color brown and painted over the handle.
Step 6: Seal It!
The last step is probably the most important step of it all! Sealing it! You don’t want all the hard work you’re put into painting your prop to peel and chip away. Once all the paint is fully dry, spray the prop in a clear acrylic sealant. I used Mod Podge matte spray sealant for the entire thing. And then used Mod Podge glossy sealant on the handle to give it some shine.
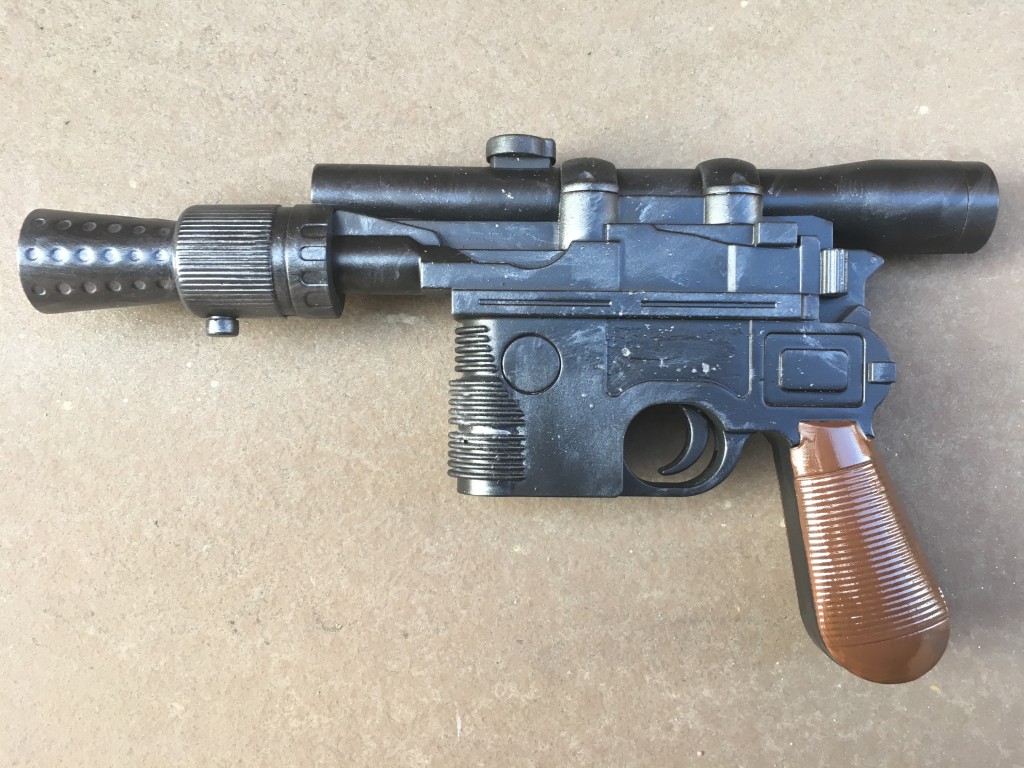
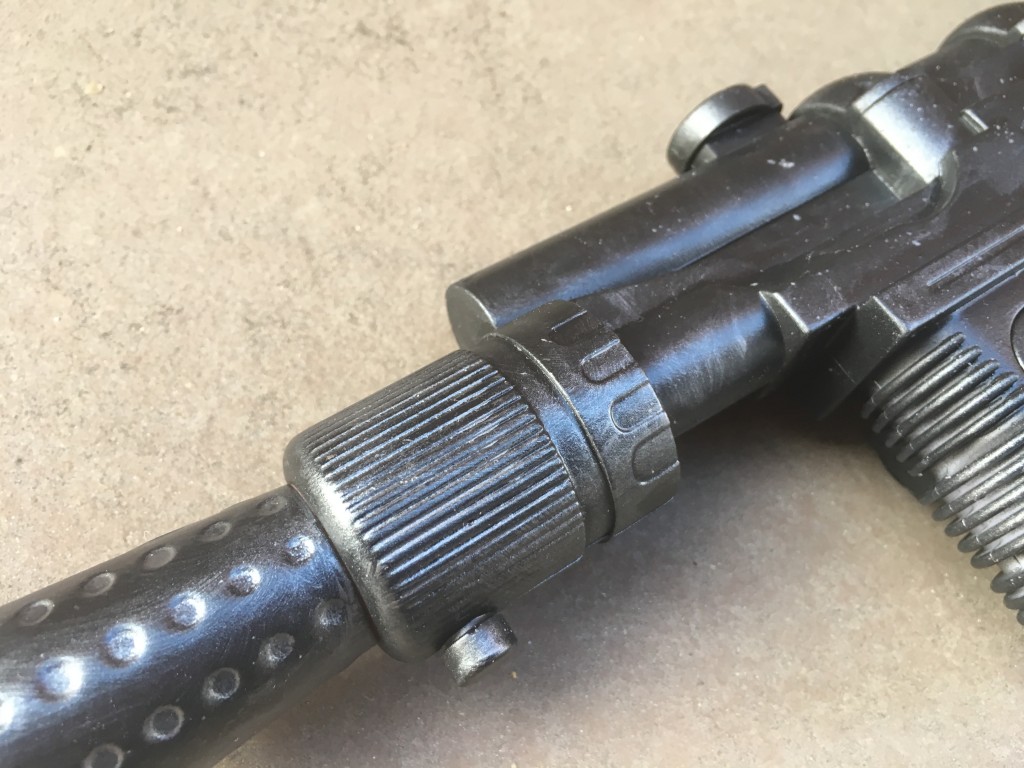
Now you have your very own weapon straight out of your favorite movie!
What prop are you planning to use this tutorial for? Let us know in the comments below!
Alia
(Everyday is Halloween)
Latest posts by Alia (see all)
- San Diego Comic Con 2023 Cosplay Recap - July 25, 2023
- WonderCon 2023 Cosplay Recap - March 28, 2023
- Anime Los Angeles 2023 Cosplayers - January 13, 2023


